Aeroponic Transplants
Bare Rooted Plants to Soil & Soilless Mixes
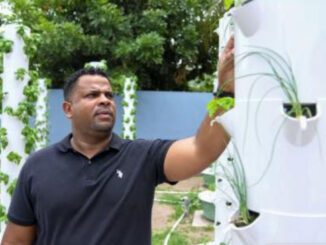
Producing aeroponic transplants is a great way to improve your ability to produce higher numbers of plants in a shorter time frame. Aeroponic transplants have several advantages over producing cuttings, clones or seedlings for greenhouse or indoor organic gardens versus traditional methods. Rooting cuttings with aeroponics from healthy donor plants and potting up into soil or soilless mix is a great way to create some plant sales, whether at the Farmers Market or wholesale to professional growers. Ideal for the Spring boom in transplant production and sales.
Aeroponic Transplants Advantages:
- Bare rooted plants can be shipped anywhere–soil plants have restrictions and possible quarantines when crossing borders
- Larger and more robust root systems are produced in less time
- Aeroponic systems don’t have any media to replace or purchase each time
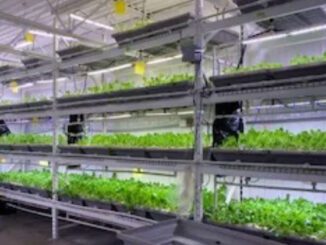
- Higher numbers of plants can be produced in less space
- Does not require synthetic root stimulators (optional), ie totally organic is possible
- Plants may be rooted from larger cuttings with more leavers-less time for growth required later on
- Anybody who can follow instructions can successfully propagate with proven aeroponic systems
If you haven’t tried rooting with Aeroponic methods yet, and want step by step instructions or an overview of How-To root with aeroponics, we suggest reading this article first:
Once you have your cuttings rooted or seedlings established via aeroponics, you’ll need to move them into a larger hydroponic system, or for conventional gardening methods, you’ll want to pot up your aeroponic transplants. Here’s an article on RDWC Transplants for those getting their hands wet with hydroponics. For conventional gardening methods like soil, soilless or organics, please read on.
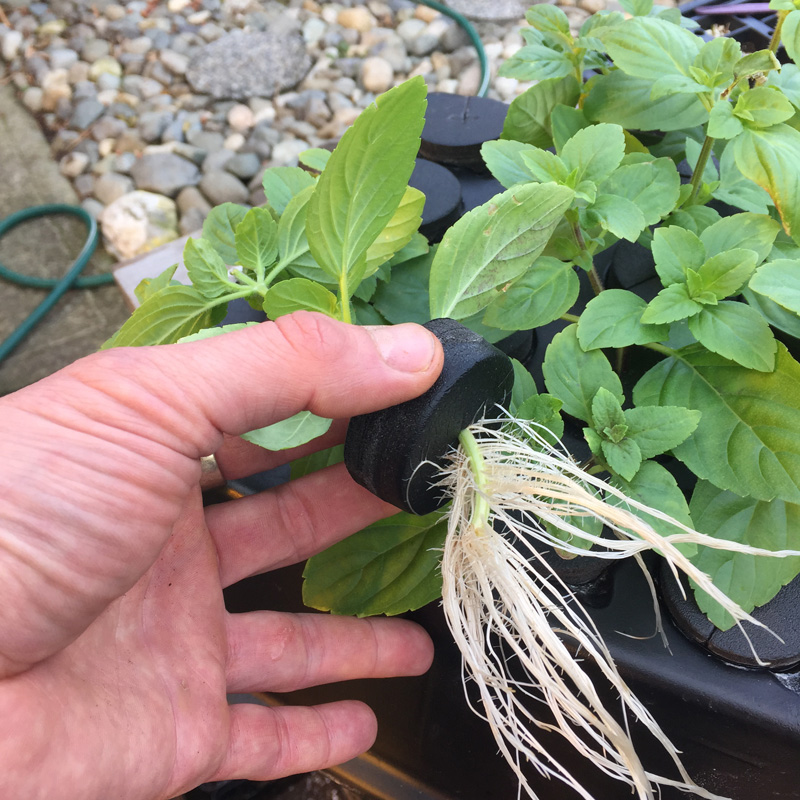
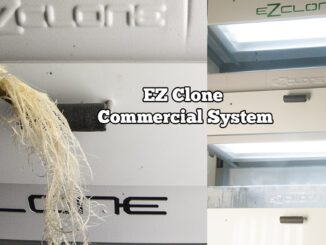
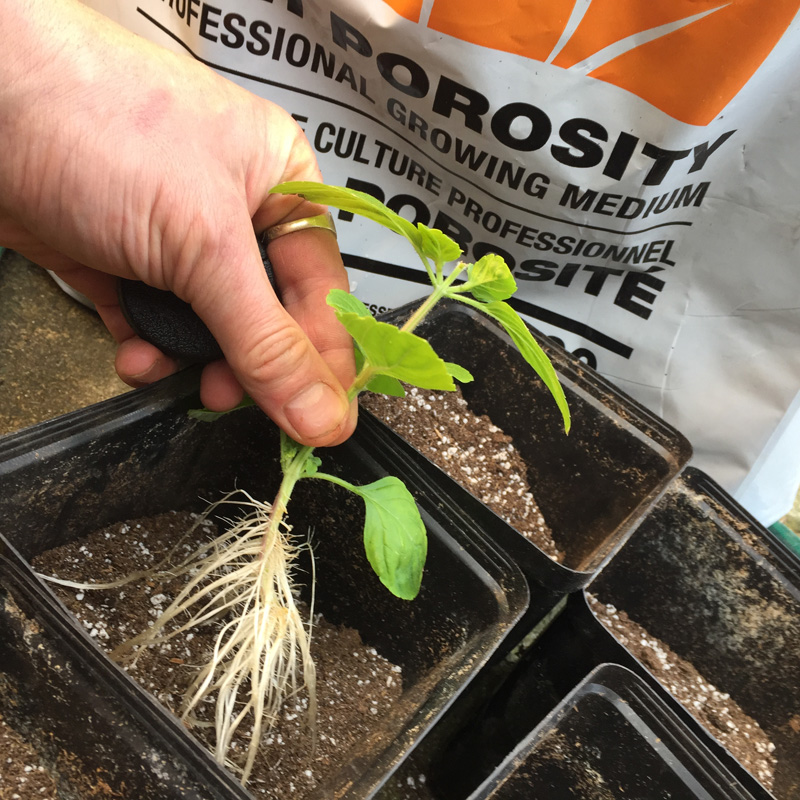
Pictured here is a well rooted African Basil cutting produced via aeroponic cloning methods. The parent material was cut from healthy donor plants growing in a backyard greenhouse aquaponics system. Note that No Rooting Hormone was used to produce this particular batch of cuttings, just filtered water and a very mild addition of a Calcium-Magnesium plant nutrient supplement. This particular cloning system is called an EZ Clone Classic 16, and is readily available online or at your local hydroponics shop.

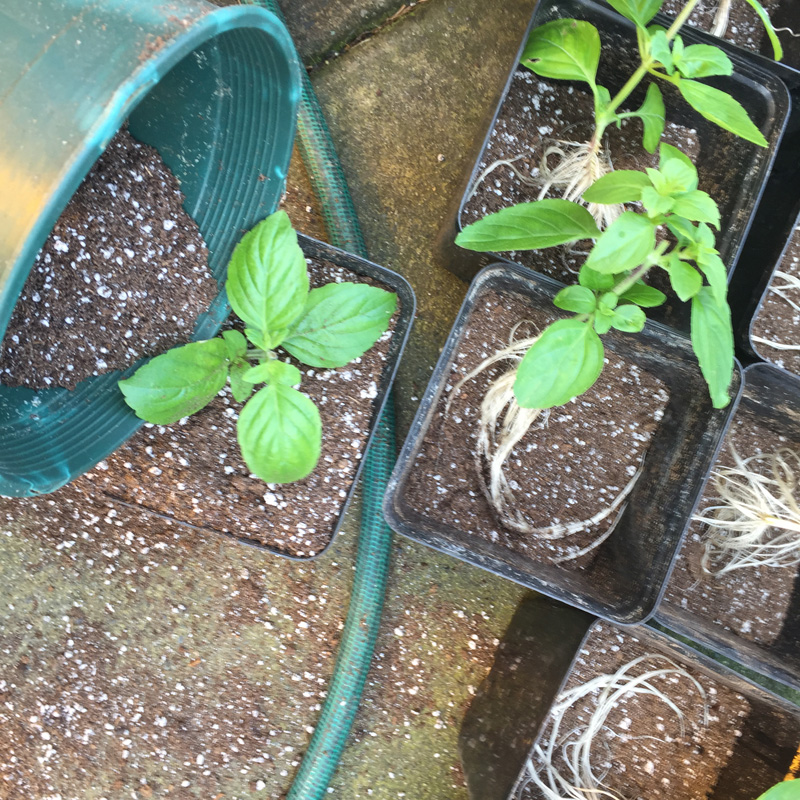
You can pot up your rooted aeroponic transplants into any type of growing media you like, whether in pots, growing beds or straight into the ground in planting holes. In this example we are using a high porosity sphagnum peat moss mix. Note: soilless mixes can be reused over and over again with proper management and care. Here’s more info on Reusing Soilless Mixes. If placing your aeroponic transplants into pots, sizing is important. Too big a pot will stay too wet, slowing down growth. Usually a 4″ to 6″ square pot or a one gallon nursery pot is a good first sizing for most types of cuttings or seedlings produced using aeroponics. We used 4″ square Tall pots as our first step. This is a great way to ensure lots of space for roots, but still allowing a respectable number of plants to fir in a standard ten inch by twenty inch nursery flat.
When filling your pots or digging your planting hole, estimate how much media you will need to have in the bottom of your container for the transplant to be finally sitting at the right height when you are done. Too shallow and the plant will be unstable and topple easily. Too deep and you run the risk of stem rot or other transplant disorders. Handle bare rooted plants gently-and don’t keep bare roots exposed to bright light or air for any prolonged periods. Work swiftly, and plan your transplant routine with materials layed out and organized before you begin.
TIP: You can inoculate bare rooted transplants very efficiently versus drenching containerized plants later by dipping bare roots into a bucket of the solution before potting up. Good quality beneficial bacteria and fungal products intended for plant care are not typically inexpensive, so it pays to use them more efficiently.

Once you’ve gently filled the containers while holding the up the aeroponic transplants as you fill, you’re ready to wet down the growing media. The first watering is critical. It “glues” the bare root system into the new growing media surrounding the root system. If not done properly, gaps or dry pockets may be created, stressing plants and potentially hurting growth or contributing to other problems. Add a mild B-Vitamin solution, humic acids and mild fertilizers (reg or organic) will help keep plant development healthy and growing without interruption. Indoors, raise the lights for the first 12 hours and reduce air flow, as not to stress and dehydrate the plants. Outdoors or in greenhouses, it’s best to trasnplant as the sun is going down, giving the plants a darer and cooler period to recover. When done correctly, you shouldn’t see any interruption in growth.