RDWC System Transplant Guide
Hydro System Transplanting How To
This RDWC System Transplant Guide is a step by step guide with images to show you a proven method for success when starting out plants in your RDWC (Recirculating Deep Water Culture) hydroponic system. The same principles also apply to common DWC (Deep Water Culture) hydroponic systems too.
NOTE: Be sure to browse our other hydroponics article features for more information about selecting and building different types of hydroponics systems including RDWC types.
When starting plants for transplanting into hydroponics systems that are considered “water culture” systems like RDWC (where little or no growing media like expanded clay or grow rocks surrounds the roots), you’ll want to keep the roots as naked as possible. When starting from seed filling your seeding flats with a soilless mix like coco coir or peat mix is a good option. Once plants are ready to be transplanted, you can give the root plug a quick rinse in a bucket of clean and mild nutrient solution. This washes of the growing media without stressing the plants, leaving your seedling bare rooted and ready to move onto the next step in this RDWC system transplant guide.
Consider: Aeroponic cloning methods produce bare rooted transplants very fast that will perform identical to the parent plant when given favorable growing conditions.
When to Transplant ?
After plants have developed true leaves they can be transplanted up into RDWC hydroponic systems. If growing indoors under lights, it’s more efficient to keep smaller plants closer together in an intermediary stage before spreading them out more, as more space indoors means more lighting to keep everything well lit and growing healthy. When growing with hydroponics systems outdoors just about anytime when seasons are favorable is good, although your plants will have time to recover before intense light hits if you do your transplanting in the evening.
RDWC System Transplant Materials
Nothing major needed here-just RDWC system basics like net pots and growing media like expanded clay or grow rocks. A plastic cup for watering or scooping comes in handy. If you are washing away any soilless media first, you’ll want to have a bucket of fresh filtered water with a mild nutrient solution handy. The main thing is being prepared ahead of time, that means having everything set up so you won’t be tripping or scrambling about once you have got underway. To minimize creating stresses on young plants during transplanting, speed is of the essence; like a fish out of water.
RDWC System Transplant Guide: Step by Step with Photos:
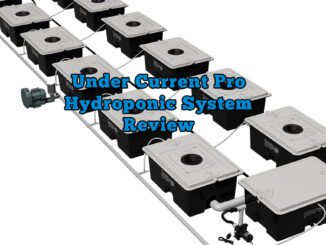
 Here (Left) is an Under Current Pro water culture system ready for filling and planting. One of the benefits of growing via water culture methods is the fast turn around time potential between crops. It’s possible to harvest and replant in the same day–with nothing to throw away or replace, as all of the materials can be reused over and over again. Just a scrubbing and nutrient change out for the system and a quick cleaning of the growing media is all that is needed.
When filling up your RDWC system, be sure to use filtered water so your crop nutrients will be more effective at lower concentrations. This makes for healthier plants and harvests. A system like this can use a lot of water when filling from empty, so be prepared. Once filled correctly, it’s just a matter of keeping it topped up–no change outs needed when managed properly. Fill level system so that the nutrient solution will be touching the bottom inch or so of the net baskets you use in your system at transplant time.
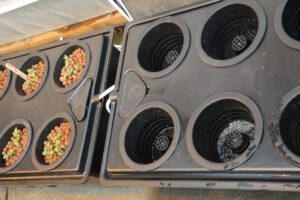 Once the system is filled, nutrients added and pH level set, the RDWC system is ready to plant. Check your nutrient manufacturer’s recommendations, and unless especially recommended for RDWC, you can often use 1/4 to 1/2 strength (even that might be strong for transplants) Why is this? Because plants growing in RDWC systems can use water and nutrients much more efficiently because of all the oxygen and circulation involved in keeping the root system supercharged and healthy.
TIP: Make sure the temperature of the nutrient solution is between 65 to 75 Deg F for optimal crop health.
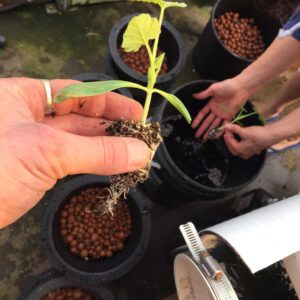
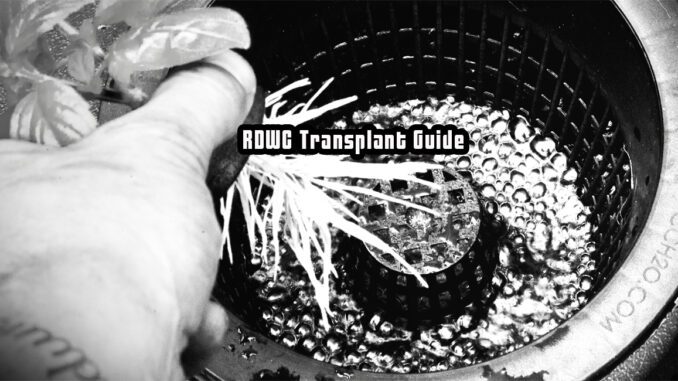
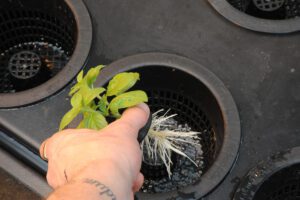 Left, is an aeroponic African Basil cutting that is sufficiently rooted for transplant into RDWC hydroponics, nothing to rinse of or replace here; just pure plant!
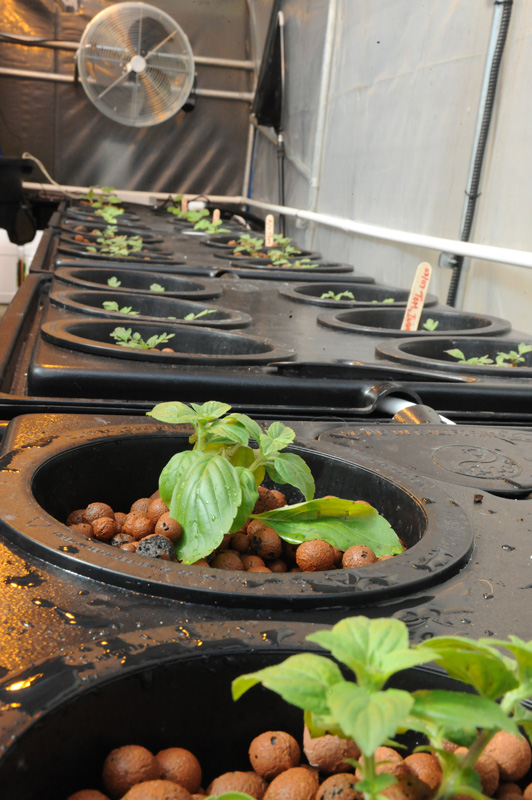
In the image on the left, note the depth of the solution is touching the lower portion of the net pot insert. You can also see that it is very well aerated from all of the oxygen bubbles. Well aerated solutions will “spit” highly aerated micro droplets into the growing media, encouraging the root system from the transplant to grow down into the depth of the solution (the goal here)
For improved results, bare rooted hydroponic transplants can have their root systems dipped into a mild solution of vitamins or beneficial bio inoculants–it’s best to keep the solution in the system as sterile as possible as the plan is to have a long working life, no dumping required.
Next, fill the lower portion of the net basket with clean and well rinsed hydroponic media. Pictured here are expanded clay pebbles. There are lots of great choices in the marketplace, and these materials tend to be bulky and weighty, so typically it’s about what’s local to you that works. You don’t want the roots to have much of a gap between the the nutrient solution below–the sooner they make contact, the better. As roots grow down, you maintain the depth of the solution about an inch or two below the baskets. A float valve is cheap and keeps your reservoir topped up automatically.
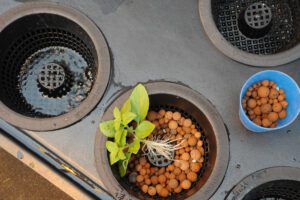
Gently hold or place the hydroponic transplant into the net pot onto the shallow depth of clean grow rocks. Be careful, young plant roots are sensitive and delicate; rough handling will set back cropping time. A smooth transplant can make for seamless growth rates and crop development.
Note the well designed net pot inserts that have been supplied with this system provide the perfect sweet spot for bare rooted transplants. The young roots will easily access the nutrient solution, while the stem remains drier up top to reduce the chance of stem rot or other transplant disorders.
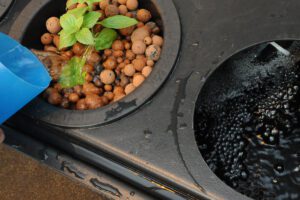
Left, once the transplant is firmly anchored by gently filling the net basket, a quick wetting with mild nutrient solution will be all that is needed, except to move onto the next planting site until you are done
*** UPDATE: April 22, 2105, In the YouTube Vid (below), The SAME Plants pictured above THREE WEEKS after transplant
[youtube width=”560″ height=”315″ video_id=”JxHHbsDIYeM”]

