Aeroponics Cloning Method
Dealing Your Garden All Aces for Success.
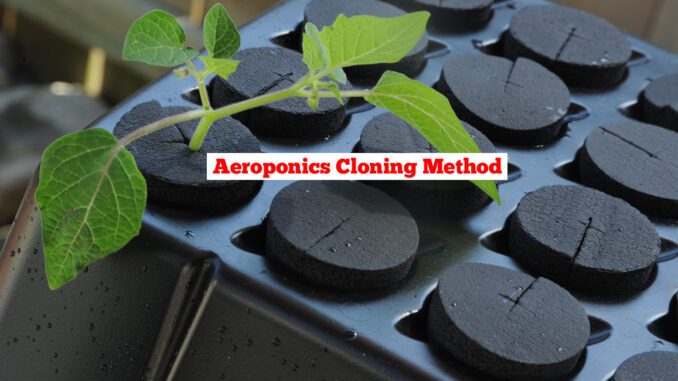
Aeroponics Cloning Method, Step by Step Instructions and Photos; anybody can do it. From Grozine Vol 2., Issue 13
Do you have a plant in your garden that you are especially fond of?
Maybe it’s your most flavorful tomato or perhaps a unique pepper–or any plant from your seed pack that stands out amongst it’s siblings in a way that’s favorable to you deserves some attention.
You can start all of your future crops from clones or rooted cuttings from your selection to guarantee your future gardens will be filled with plants exactly like it in every way-no more guessing.
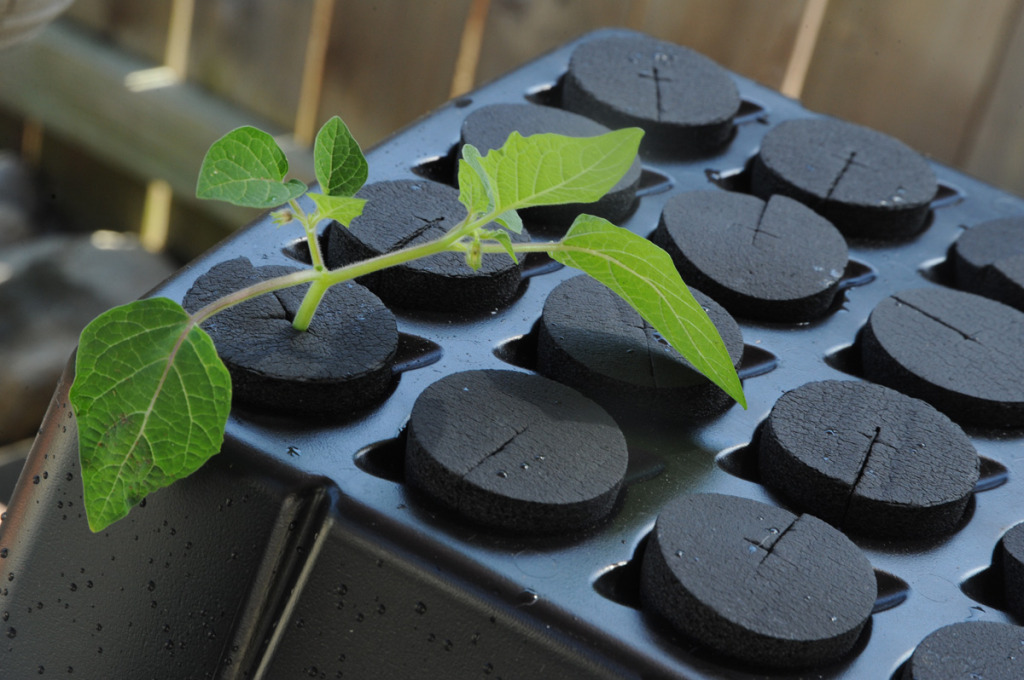
Cloning is EZ! Even a six year old can do it; and we’ll prove it, with this Aeroponics Cloning Method.
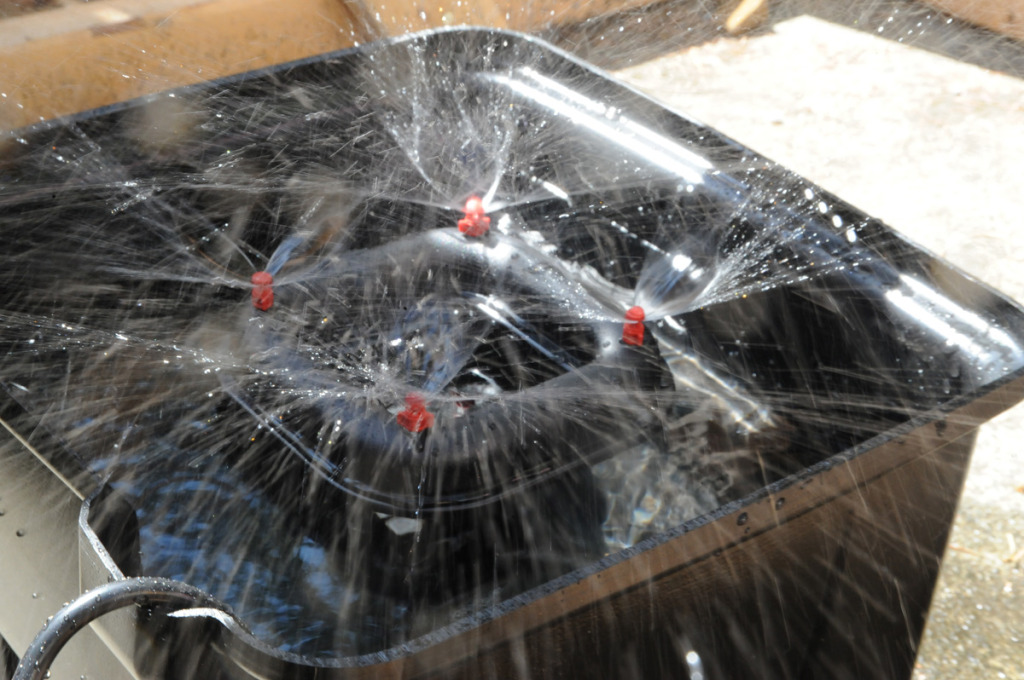
a step by step, easy to follow guide:
| plant propagation with aeroponics |
[youtube width=”560″ height=”315″ video_id=”mSVwUFRHE7M”]
Above: Cloning 128 Basil Plants
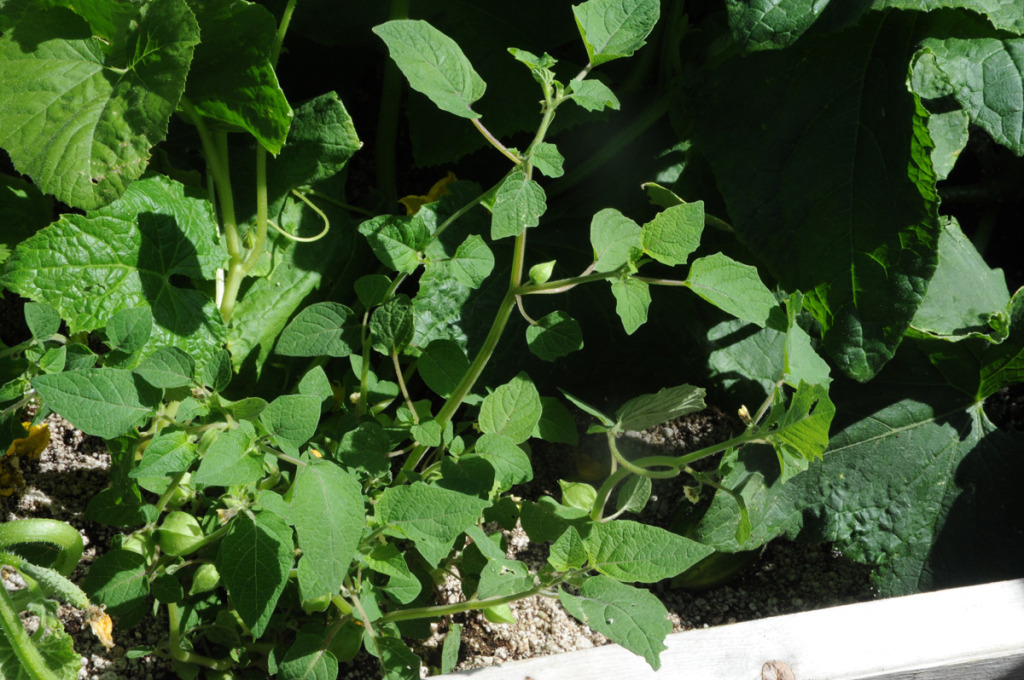
The Mother Plant
Where it all begins. Only select your finest plants to serve as mothers, both in performance and in health. Sickly mother plants will give way to sickly future crops–most plants are best to propagate while in an active vegetative growth phase.
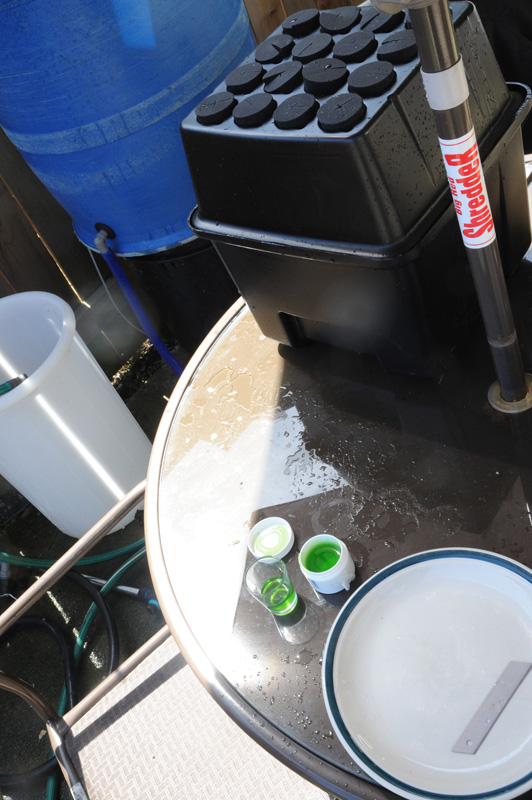
Aeroponics Cloning Materials
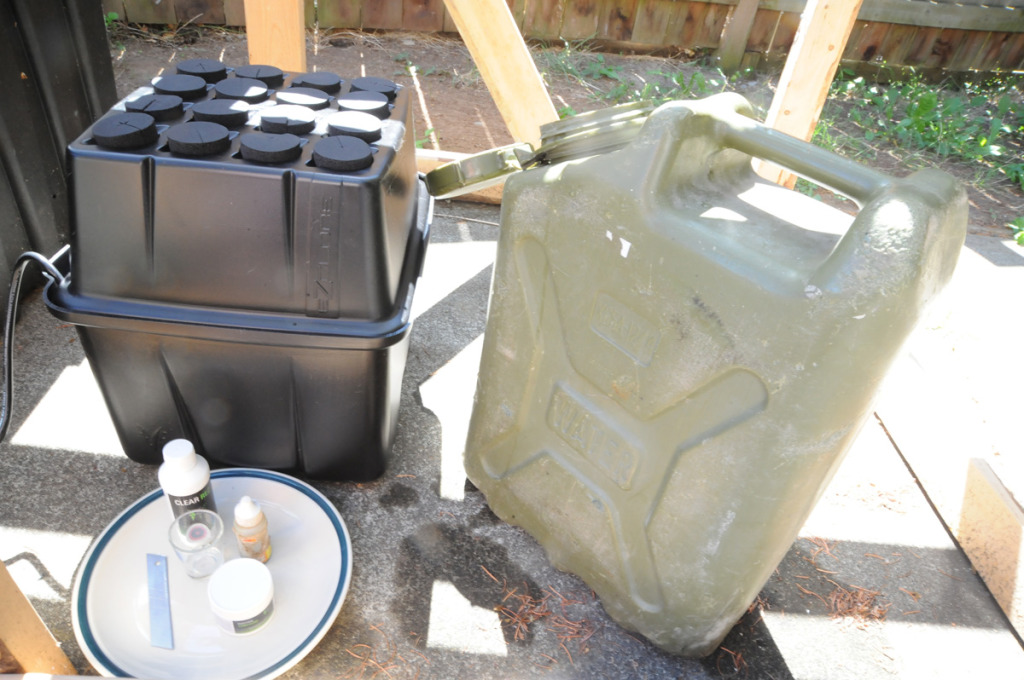
EZ Clone Systems ( SEE GEAR, this Issue for more) manufactures everything you need and supplies it in one kit that assembles with no tools in just a few minutes. You’ll also want to have:
filtered water
pH kit and buffers (cheap is fine)
clean bucket
sterile, sharp razor
shot glass
clean plate
clean spray bottle with fresh filtered water
Special Notes:
- don’t do your cloning in a breezy area
- make sure the system is clean and sterile–along with ALL materials and your hands
- ensure mother plant if fully hydrated an unstressed, ie just as the lights are coming on or early in the morning
- a dome is optional but not needed with aeroponic cloning
Conditioning the Water
The EZ Clone Classic KIT comes with Res Clear; a product that inhibits the growth of water fungus or bacteria that can make clones sick if they get stressed during rooting
Adjusting Acidity of the Water
Different types of plants may have different preferences when it come to pH levels. For most varieties having a pH from 5.5 to 7.0 is just fine, with 5.7 being the usual target.
- A liquid pH test kit and food grade buffers shouldn’t set you back more than $15–and you can use it for the rest of the garden too.
Being Prepared
Have everything ready, clean , organized and within easy reach BEFORE you get started with the actual cloning
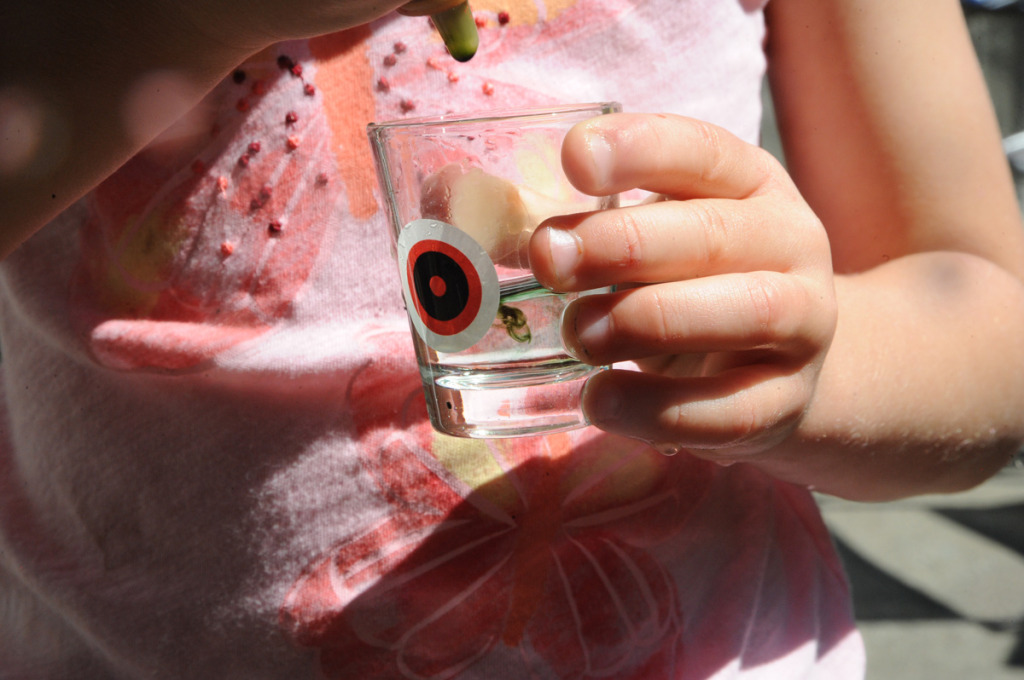
pour a small amount of your rooting gel or solution (our KIT came with some) into a glass shot glass; as much as you think you will use; avoid contamination.
[quote]Excessively warm or cool temperatures will lead to problems in rooting clones. most plant types do great with 75-80 deg F steady.[/quote]
Cutting Clones
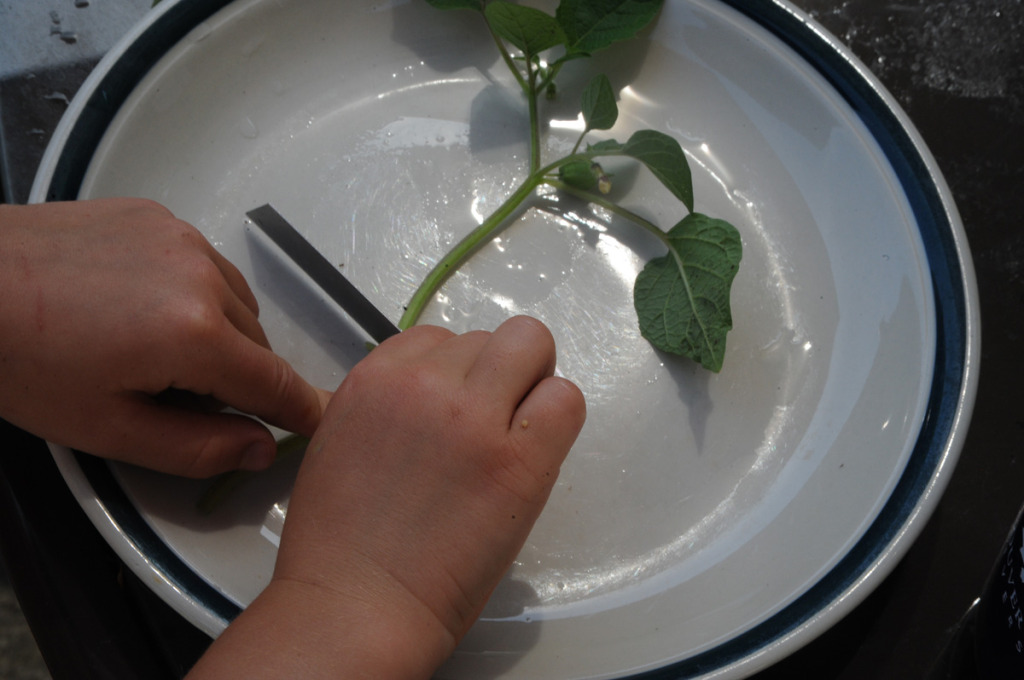
Note how excess foliage has been removed from the stem. Large leaves will make the plant work too hard to stay hydrated with no roots to support the water demand..
Strip off excess leaves quickly and make a cut, preferably on a node, at a 45 degree angle. WORK FAST TO PREVENT CUTTINGS FROM DRYING OUT
Dip N Set
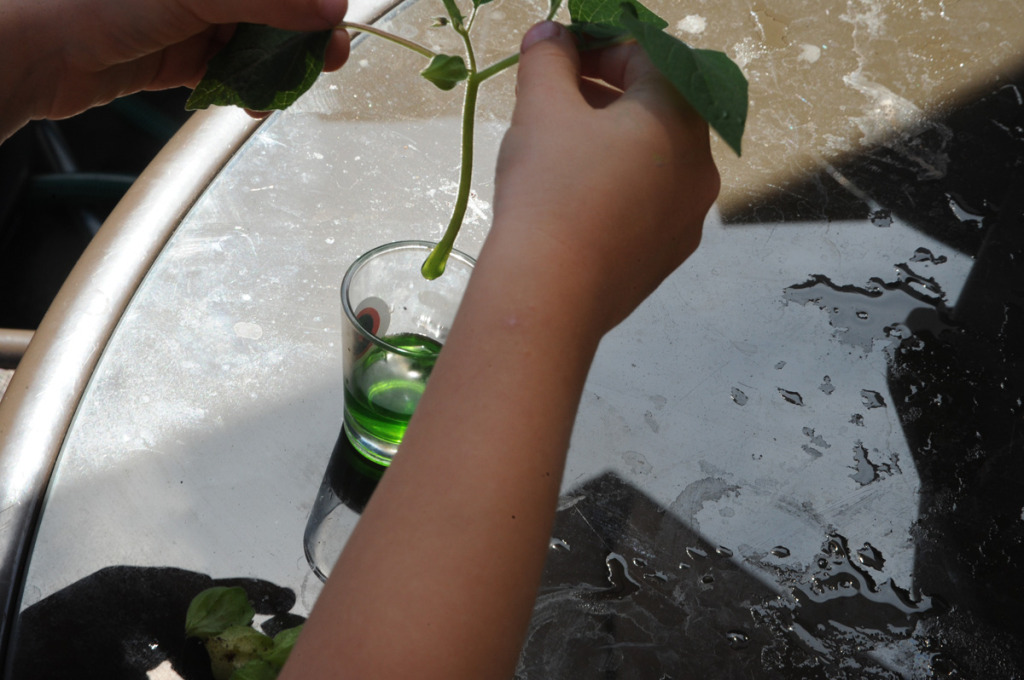
IMMEDIATELY place the cut stem into the rooting gel or soak for about 10 seconds.
Quickly open the cloning collar into a “C” shape with your other hand and gently close around the cut stem so it is an “O” again; this time supporting the cut stem. there should be at least an inch and a half of clean stem for roots to grow from in the part that will be below the the lid.
Place into the system. Repeat until you have the desitred number of cuttings in the aeroponic cloner.
Special Notes:
- take more cuttings than needed–keep only the best
- most plant types will show roots in 5 to 15 days
- keep system topped up with fresh water and adjust pH as needed
- Rooting Gel is not necessary with aeroponics cloning–if you prefer to keep things organic, skip the gel and just wait a few more days to see roots

