Rockwool Grow Tips
Growing With Rockwool, Fundamentals for Success
With these rockwool grow tips it’s easier to enjoy growing high yielding crops consistently, hygienically and efficiently. Rockwool has been used as a high production soilless grow media for decades by professional growers, with early roots in Europe. Experienced growers love the control they can have over air to water ratios in the root zone to push growth and increase yields with rockwool. For the new grower not understanding how to work with rockwool and it’s unique properties, can lead to unfavorable results. Read on to learn how to get the most out of your crop following our rockwool grow tips.
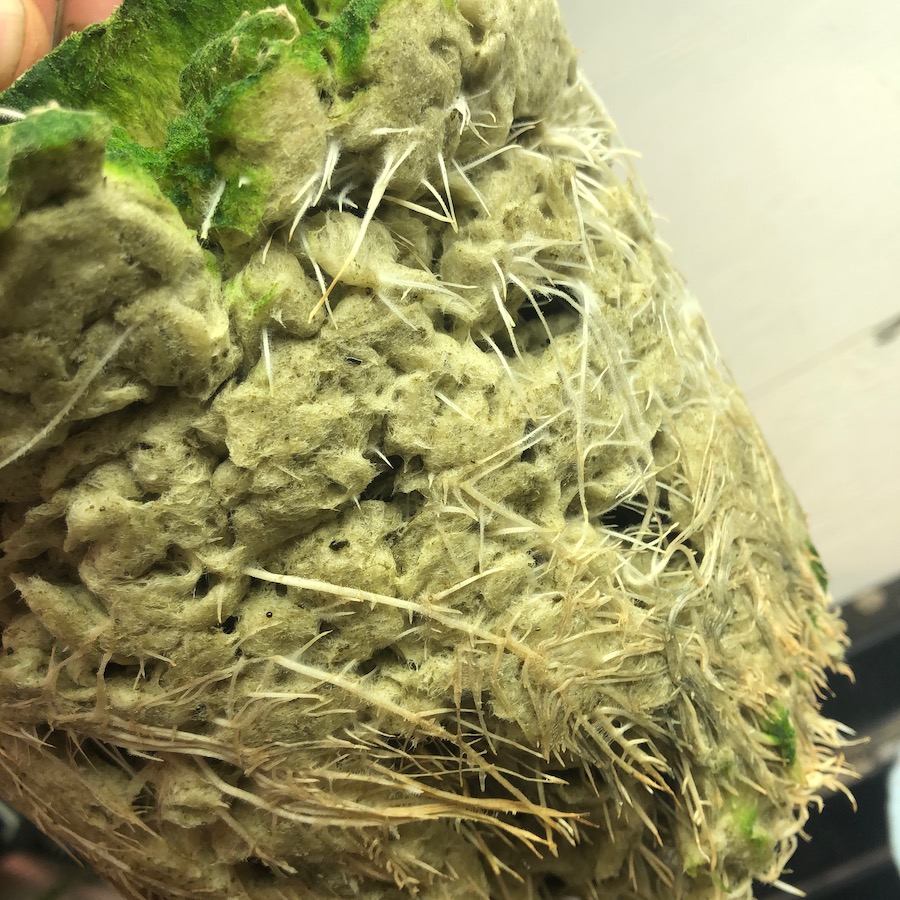
[quote]Rockwool has a lot of pore space; you want this filled with air and water. If you irrigate too frequently or heavily, the pore space will be mostly full of moisture (not enough air) and roots suffer, hurting crop production.[/quote]
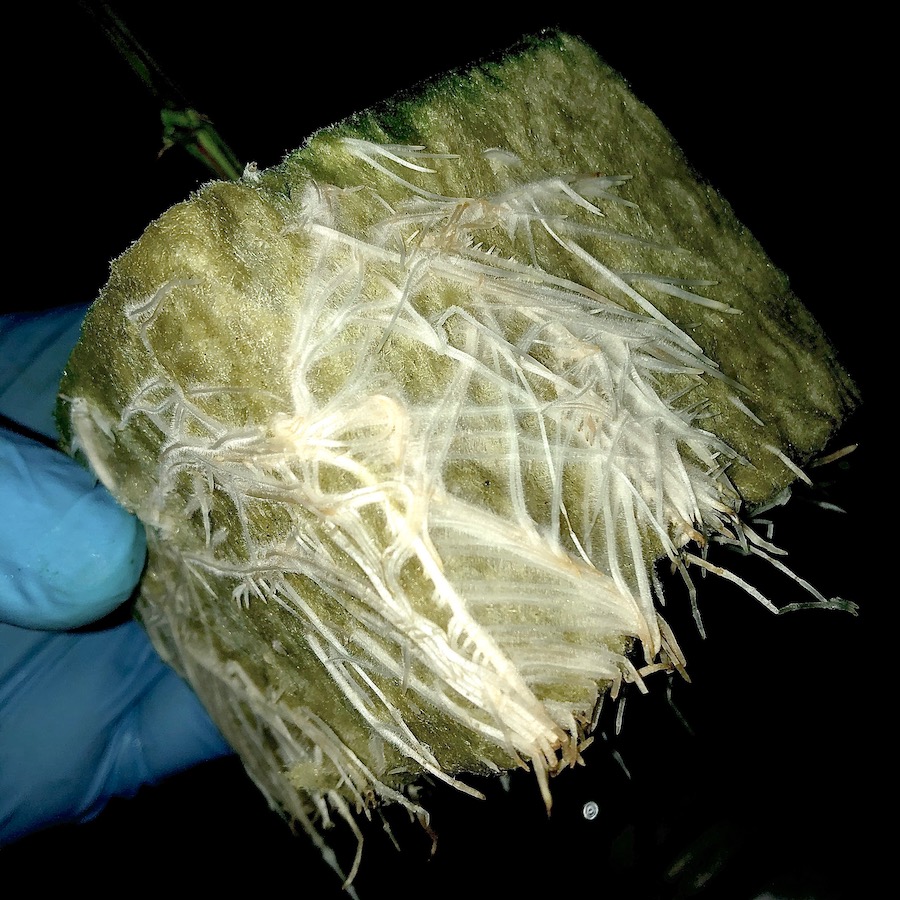
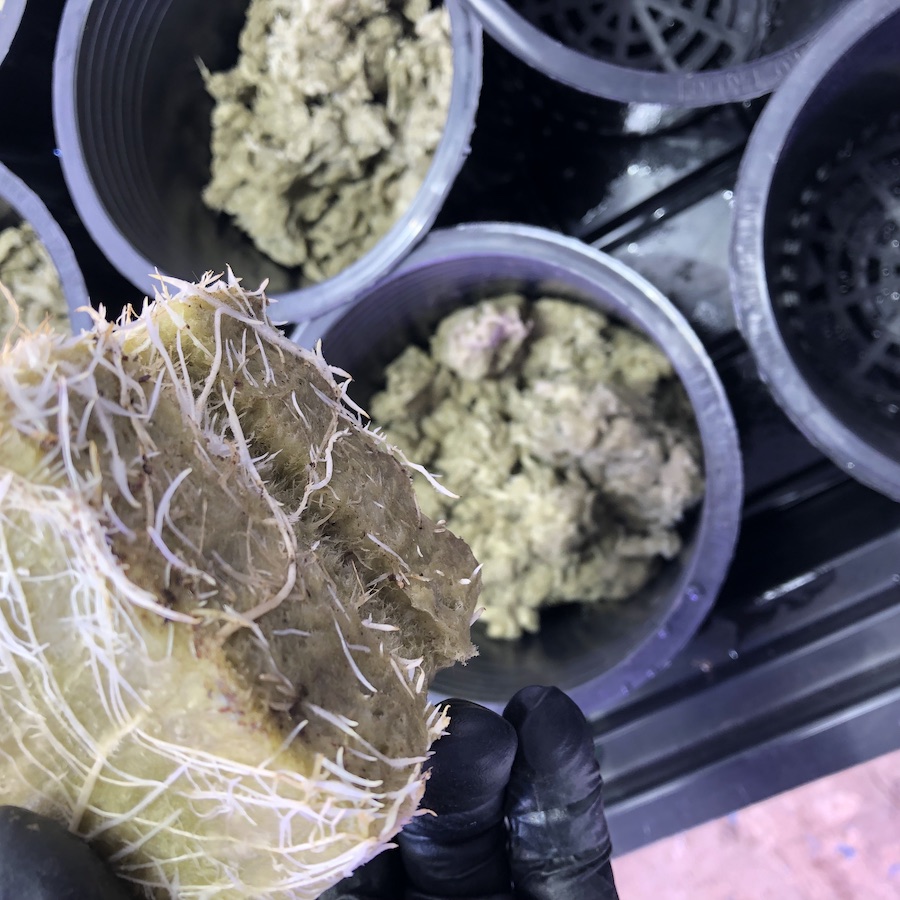
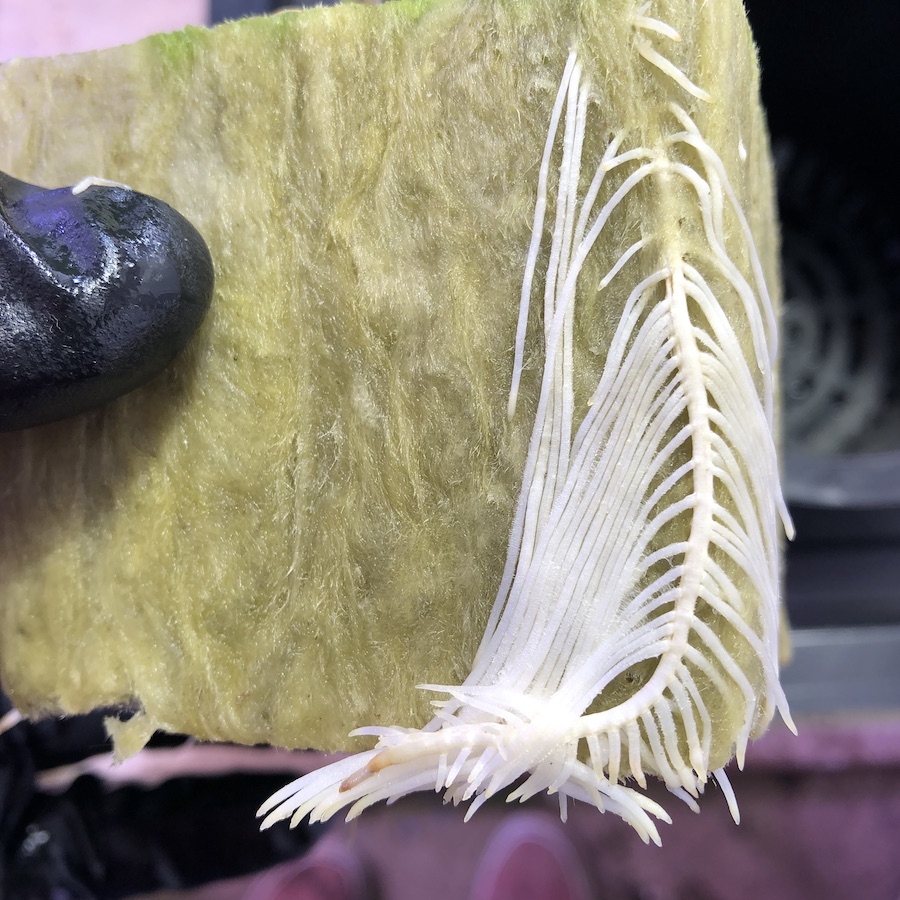
Above: Healthy root development following rockwool grow tips
Rockwool Grow Tips, Number One
Rockwool quality and performance varies. The physical structure of the rockwool you choose determines how much water your rockwool granules, cubes or slabs will hold as well as how water moves through the medium to supply crops with water and nutrients. Fast draining structures are more forgiving. Rockwool irrigation automation is easy with a pump and timer. Rockwool growing is also highly suitable for using irrigation systems with dosers.
Important Note: Rockwool is best used with hydroponic nutrient formulas that don’t contain organic matter. Organic particles will clog the pore spaces and rockwool and can cause serious problems. Keep it clean and sterile for best results.
Growing with Rockwool
One of smarter ways to work with rockwool (similar to most soilless methods) is to keep upping the size of the cube, slab or container of granules through the cropping cycle until final transplant for bloom or fruiting. For example,
starting seeds in rockwool plugs > established transplants into 3 or 4 inch cubes for Veg > transplant well veg’d cubes onto bigger cubes, slabs or containers of granules > bloom or fruit plants in final size until harvest or termination
Rockwool Grow Tips, Number Two
You don’t need much rockwool relative to the size of your plant. Less is more with rockwool, to a degree. By minimizing the amount of media around the roots, water drains away faster. Plants have more air for roots and you can irrigate with nutrient solution with higher frequency. This stacks up to healthier plants and better production. Don’t push it too far though, if a pump misses a cycle or a line clogs your crop will wilt fast; give a little bit of a buffer with moisture levels.

Above: Plant started in Oasis getting transplanted to Rockwool
Clones/Seedlings: 1 inch to 3 inch cubes
Pre-Veg: 3 inch cubes or pot with granules
Veg: 3 to 6 inch cube or pot with granules
Bloom: a 6 inch cube or pot is the minimum. Typically, a small slab or a 1 gallon pot with granules can support a plant that finishes two to three feet tall at maturity
Main Rockwool Product Types
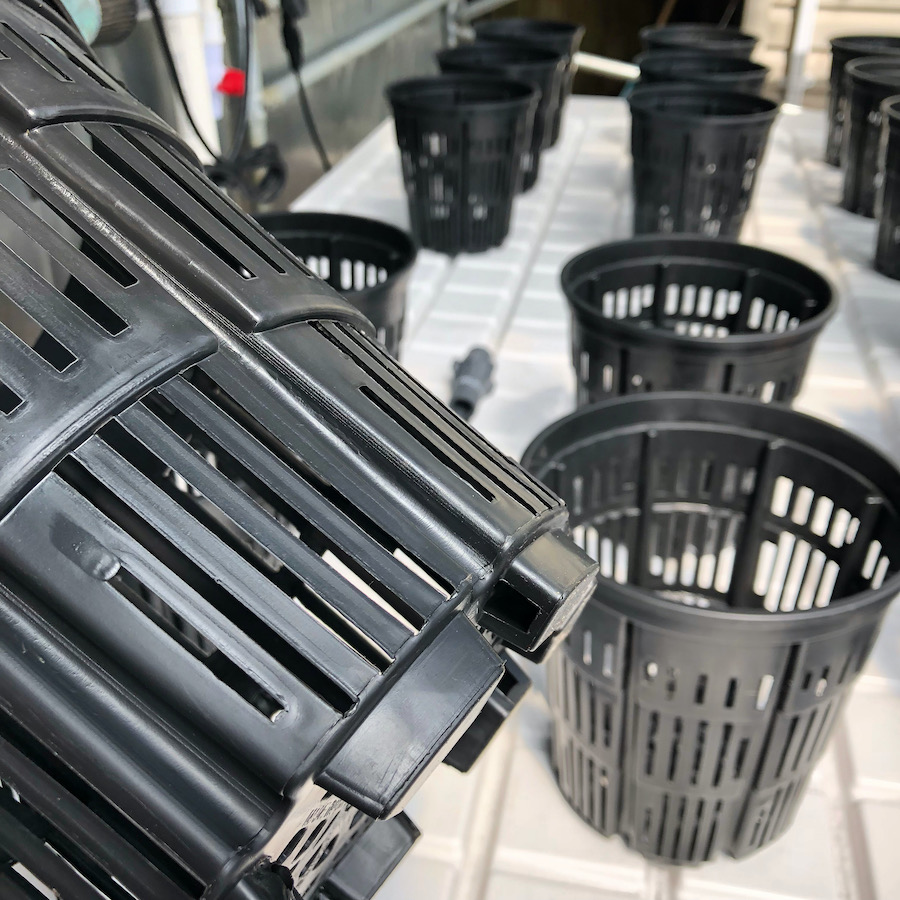
Cubes
Nice to work with, they come wrapped in plastic sleeves and typically there is a notch on the bottom of the cube that allows drainage even on a completely flat surface. The structure of the fibres in cubes is usually orientated vertically, so they drain fast. However, in the early plant stages even with vertical orientation of a cube’s fibre structure, rockwool cubes may hold a little too much water when fully saturated. Start with the smaller sizes and work your way up as plants develop. You can stack a two inch cube right on top of a four or six inch cube once plants have strong root systems. Cubes are great for flood and drain type irrigation systems.
Slabs
Usually, rockwool slabs have horizontal fibre orientation, so they drain slower and encourage lateral movement and development of roots. Typically, rockwool slabs are no taller than cubes-just wider and longer. Once plants are well established in rockwool cubes or mesh bottomed pots (granules), they are placed on a plastic wrapped rockwool slab that has spot in the wrap cut out for roots to contact the rockwool slab and grow directly into it, anchoring the pot or cube and giving ample room for roots to grow into. Slabs are almost exclusively irrigated with top feed drip emitter and spaghetti lines to to supply nutrient solution.
Granules/Flock
Great value and flexibility here. This rockwool is supplied as “loose” in a big compressed bale and is used to fill pots, beds, containers, etc. Very inexpensive to buy and you don’t need much per plant, ie., a one gallon mesh pot of absorbent flock can support a three foot tall bush with frequent irrigation frequency. Good for flood and drain or top feed applications.
Pre Treating Rockwool
Rockwool needs to be pre-treated prior to use. Don’t skip this step! Because basalt spun rockwool is alkaline, horticultural grade grockwool needs to be buffered with a mildly acid solution for 24 hours prior to use. Further, the pre treatment helps rinse away any unwanted impurities from the manufacturing process. Also note that dry rockwool can be an irritant to the skin and lungs, while when wet is easy and safe to work with.
Rockwool Grow Tips, Number Three
Soak, Flush, Drain & Plant. Follow that and you’re golden.
- submerge cubes or flock in a pH 5.0 solution for 24 hours; slabs can be saturated via spaghetti lines before cutting any drain slits into the slab’s plastic wrapping. TIP use good quality, fresh clean water (Reverse Osmosis filtered water is best)
- thoroughly flush the rockwool (drain to waste) on a fast draining surface with a complete nutrient solution (appropriate for growth phase), pH 5.5
- transplant
- *IMPORTANT* wait until the cubes, slab or flock have dried out around 50% before starting your irrigation cycling–give crops a chance to establish new roots into the fresh media while avoiding suffocating them with too much water.
Rockwool Irrigation Frequency
One of the best rockwool grow tips we can share is to let the rockwool dry out around 50% between waterings. Get to know how heavy a cube, slab or container of rockwool is after fully saturated and compare with fully dry. Rockwool has a lot of pore space; you want this filled with air and water. If you irrigate too frequently or heavily, the pore space will be mostly full of moisture (not enough air) and roots suffer, hurting crop production.
Rockwool Grow Tips, Number Four
General irrigation guidelines for popular rockwool types in typical indoor growing situations.
Rockwool plugs and cubes with humidity dome. If pretreated correctly, it’s not likely any additional nutrient solution will be required until the domes are ready to come off, ie cuttings have roots or seeds have all emerged.
3 inch to 6 inch rockwool cubes & slabs, after pre-treatment and transplant it’s not likely any additional water or nutrients will be required for at least a few days following the 50% air to water rule in the rockwool growing media. Monitor closely and determine when the next irrigation with nutrient solution is required.
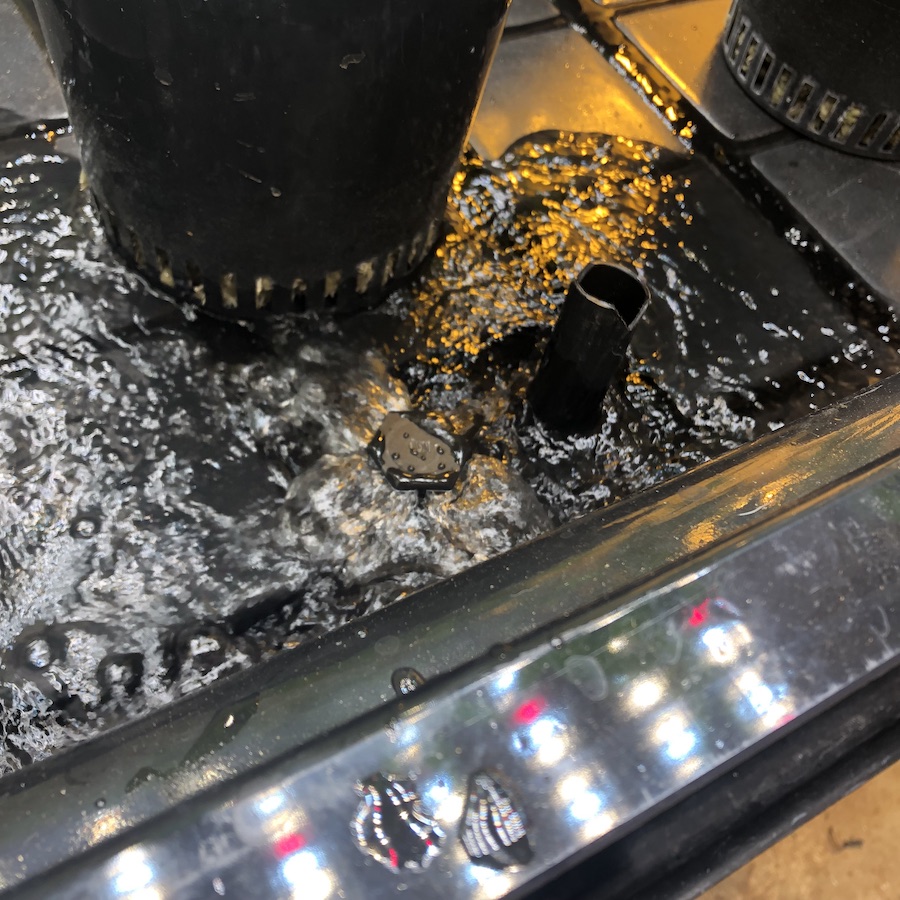
Flood & Drain
Easy and inexpensive to set up compared to top feed systems. The rockwool cubes or pots with rockwool are irrigated from the bottom up via flooding a hydroponic table with nutrient solution. At the end of the flood cycle, a timer shuts off the pump and the media and table drains, drawing in fresh air for roots while providing water and nutrients for the crop to feed. Very reliable.
TIP: nutrient residue build up can occur in the upper portion of the rockwool over time using flood & drain methods, so once every week or two it’s good to top feed with a mild nutrient solution and drain to waste to help keep nutrient build up minimal.
Initially, young established plants may require only one flood/drain cycle every 24 hours, with frequency gradually increasing to 3 to 6 flood cycles daily (over the course of weeks) or as crop uptake dictates. Try to size up your pump and tubing so that a flood cycle doesn’t take much longer than 5 minutes to fill the tray and then begin draining. By the last two weeks of the cropping cycle, water use by the crop begins to drop, so flood cycles are adjusted accordingly.
Depth to Flood Rockwool
In flood & drain set ups you can use an adjustable overflow pipe or different lengths of tubing in the overflow drain to control depth. Usually irrigating from the bottom up by about One Third of the Depth of the Growing Media is sufficient, as rockwool has some wicking capacity. So, for a three inch tall cube a one inch level depth during the flood cycle is plenty, while for a six inch block a two inch depth will suffice (this can be experimented with).
Top Feeding Rockwool
Typically, top feeding is for larger volumes of rockwool like slabs or large cubes & pots filled with rockwool. Top feeding has the advantage of being very precise in how much and how often nutrient solution is applied to help maintain air to water ratios for roots at optimal all the time (as flood & drain has more variance, going from more wet to dry, then repeating). Top feeding is usually accomplished via spaghetti irrigation tubing or sometimes manually top feeding, ie wand and hose.
Top feeding rockwool with spaghetti tubing will require a precise timer. For best results, short intervals at higher frequencies are more desirable for pushing crops and recharging oxygen levels in the root zone–you can run the rockwool more to the drier side versus flood & drain.

Above: Calibrating a drip system for precision irrigation. NOTE-the drip emitters will eventually clog; open ends are preferred.
Rockwool Grow Tips, Number Five
Drip emitters give precise amounts per plant but more often than not will clog if not cleaned with regularity–open ended spaghetti lines won’t clog if you have a barrel filter installed in the system. You can use pressure compensators from an irrigation supply (inexpensive) to maintain even flow and allow for reasonable irrigation durations. Alternatively, a ball valve installed in the system (or several) can help you regulate or even out flow rates in your drip system manifold.