Hydro Organic Compost Fertilizer Tea Brewing
Organic based teas have a long standing in agricultural history. Hydro organic compost fertilizer tea brewing has also found a place with gardeners outdoors or indoors with grow lights looking to improve soil and plant vitality with living aerobic (oxygen loving microbes). Hydro organic compost fertilizer tea brewing can also add a boost of fertility in organic forms that are friendly and make their way into the crop nutrient absorption stream easily and rapidly.
The end result of brewing and applying these beneficial biological teas to your plants is having healthier plants that can grow faster and yield bigger. While this is the idea behind many nutrient solutions, brewing biological compost fertilizer teas creates a solution that stimulates active microbiological life forms that will assist plants in outdoor organics gardens or indoors growing under hydroponics grow lights.
These living micro-organisms can serve a variety of beneficial functions to plants including: the secretion of growth enhancing compounds, protecting from nutrient disorders, preventing and controlling many common crop diseases, enhancing natural flavours and aromas and the list goes on.
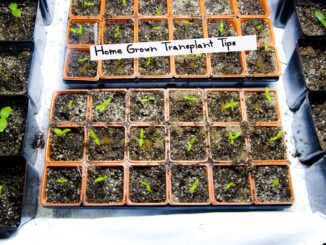
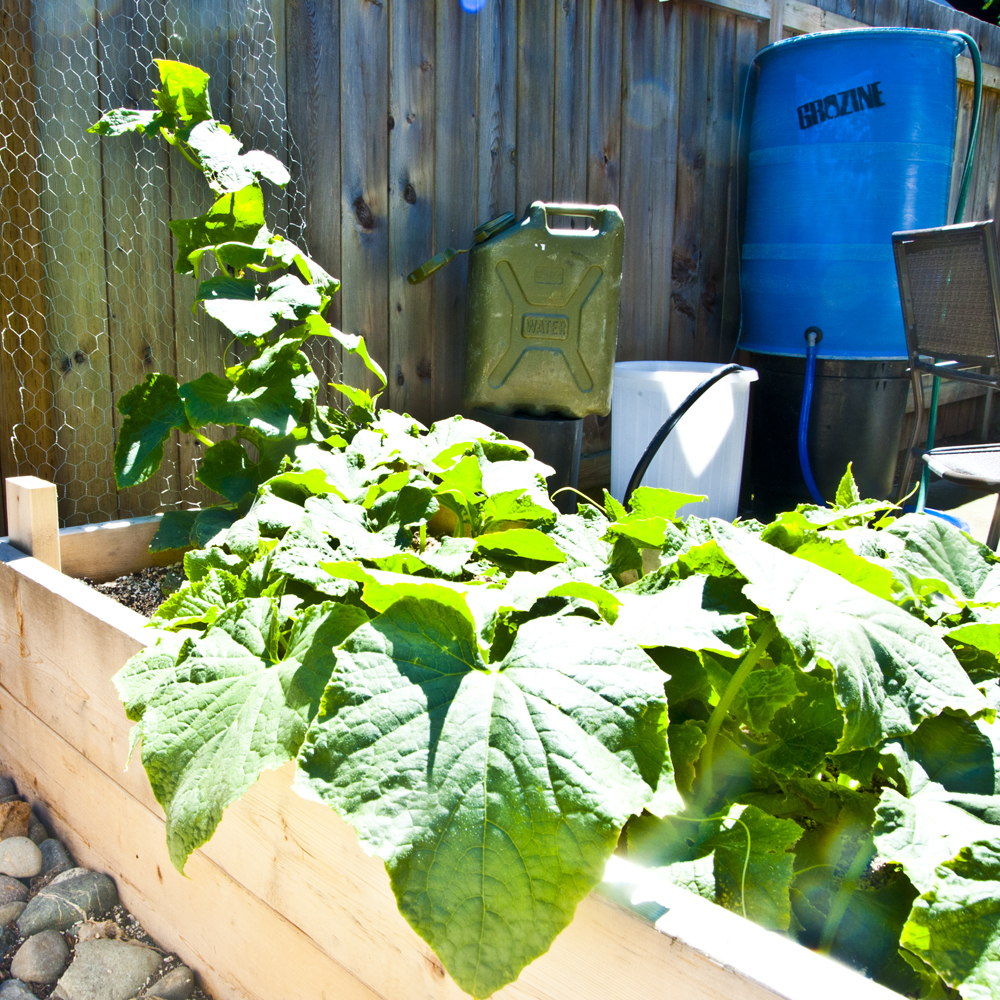
If you grow in soil or soilless methods like coco coir or commercial peat mixes, you can dilute the aerobic tea and water directly at the roots.

This can be an easy an inexpensive process and you may already have all the materials you need at hand. To brew your own, you can start with the following:
- 5 gallon bucket
- De-chlorinated water, RO Filtered Water Preferred
- Earth worm castings or Alfalfa Meal (More in VEG)
- Dried kelp meal
- Carbohydrate source (Hydroponic Carb Supplement, Unsulphated Molasses, etc)
- Microbial Source (Optional, ie hydroponic microbial supplement)
- Source of B Vitamins
- Micro-Ionized Ground Rock Phosphate (Optional, More in BLOOM)
- Aquarium air pump and airstones
- Old pillow case or un-printed t-shirt and zap strap (to make the “tea bag”)
- Ensure that the bucket has been scrubbed and sterilized. Adding one part chlorine bleach to ten parts water or the same ratio with bleach makes a good cleaning solution. Ensure that the bucket is thoroughly rinsed with lots of fresh water afterwards.
- Add about four US Gallons (3.785 L per Gal.) of water to the bucket. If the water has any chlorine in it, it can seriously harm the growth of the beneficial microbes you want to cultivate for application to your crop. Use R.O. (Reverse Osmosis) treated water, rain water, good quality well water or aerate your tap water with an air pump and airstones for 24 hours prior. Note that aeration will help some types of chlorine added at municipal treatment centres dissipate as a gas.
- Drop your airstone(s) into the water, then connect to airpump and switch on to aerate/bubble the water. Allow the water to warm up to at least 65°F or room temperature before proceeding with the next steps.
- In your clean cloth “tea bag” add 2-4 cups of earth worm castings or in VEG, Alflafa Meal. Good quality earth worm castings should appear black and smell very rich and “earthy”. Next add 2-4 TBSP of dried kelp meal and micro-ionized ground rock phosphate to the bag. Next, tie-off the tea bag with a zap strap, so that all of the material will stay in the bag, and not fall out into the water. Leave lots of space for the materials in the bag to expand once it gets wet.
- Into the room temperature, aerated and de-chlorinated water, add your source of B-Vitamins and Carbohydrates, provided they can be readily dissolved. Warm in hot water and whicking can help impove solubility and prevent clumping in the tea brewing solution.
- Drop your prepared tea bag into the bucket containing aerated and de-chlorinated water at room temperature.
- Ensure that constant and steady temperatures are maintained for brew over the next 24-48 hours. DO NOT allow the water temperature to drop below 70°F or go above 80°F. A constant and steady temperature throughout the brewing process results in superior quality teas.
- After 24-48 hours, the tea may be diluted and applied. If applying through a drip system or as a foliar spray, strain the raw tea before adding to your final volume of water for application. You may want to experiment with dilution rates, however one part tea to ten parts de-chlorinated fresh, pH adjusted water is a good place to start. When applying, you will not need to add any other fertilizers or additives. This tea does not replace your regular crop feeding program, rather enhances it.
Re-Purpose Gardening Tip:
The left over organic solids in the tea bag, while funky in appearance and possibly smell, are a great compost activator. Add this to materials you want to compost or to growing mediums that you want to re-charge with healthy populations of beneficial microbes. The brewed material should feel warm or almost hot to the touch; signifying an abundance of healthy microbial activity.
SERIOUS About Your Gardening Endevours?
[ml-adverts location=home-page-content-banner-7]