Soilless Raised Garden Beds
Soilless raised garden bed construction isn’t complicated to the average DIY gardener. There’s also ways to make it easier if you don’t have power tools or are unable to use power tools, etc. One of the many advantages soilless raised garden beds offer, is that they tend to make gardening easier and more accessible versus conventional soil gardens, making it easier for people with back or health issues to grow healthy crops of home grown foods and medicines.
You can use a variety of wood types to build raised beds-even logs. Re-purposed shipping pallet lumber, while taking a little bit of work can be a low cost solution. Typically, the easiest thing to do is to get untreated lumber from a building centre. The price for a common 2” X 6” board is usually reasonable.
TIP:
They often cut lumber to length for free or at a minimal charge at most building centres-this is a great tip for those without the tools or comfort to rip up some boards for assembly into raised soilless garden beds. Pre-cut lengths, for example five foot and two and a half to three foot lengths are ideal for common working lengths and widths in soilless DIY raised garden bed construction.
If assembling on a balcony, for example, you may want to line the bottom with pond liner and cut in your drainage points, so you can control which way run-off from watering flows.
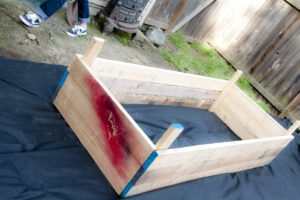
If you have good drainage where you plan to build your soilless raised garden beds, typically landscape fabric will provide a nice layer for air and drainage while keeping native grasses or weeds from invading your planting beds.
TIP:
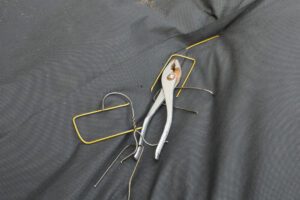
With some pliers, you can cut and bends wired coat hangers to make diy landscape fabric staples. When using landscape fabric, it is recommended to have 6” of over lap and staple down every couple of feet. Different lengths of staples are handy in the case of rocks below the soil. Sliding them in on an angle also gives them bore “bite” for a more secure hold over time.
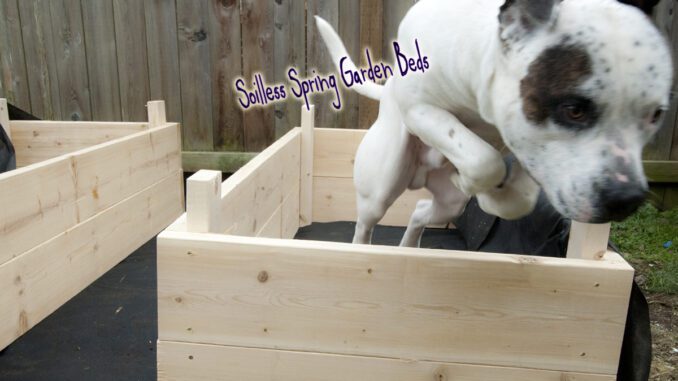
Note the photographs in our DIY soilless raised garden beds article. See the joinery with the lumber cuts to make the beds with simple wood screws and a cordless drill with driver bit-this is a solid and economical way to build raised gardens beds. The weight of a moist medium can have a lot of force. The beds will need to hold-out through the weather and seasons. So measure twice, and cut once;)
Also Note: Deeper is Better when it comes to raised beds; even a couple of inches makes a difference in big yielding crops.
Have you double checked checked the level of sunlight exposure the raised garden beds will have relative to where you want to have them?
If South facing, it really doesn’t matter if you want to grow high light plants like tomatoes. South-West facing gives you more evening sun, and can help keep watering requirements more reasonable. North-South facing rows/beds are recommended when sunlight is less than full-on for high light crops.
Filling the Beds
You can fill your raised garden beds with just about any material that you like to grow in, while a blend of either/both coconut coir and sphagnum peat moss planting mix is typically the best choice. Additions of perlite and vermiculite, if not already in your mix are recommended. This will provide good drainage and give roots access to more air and provides some CEC (cation exchange capacity) to the growing material.
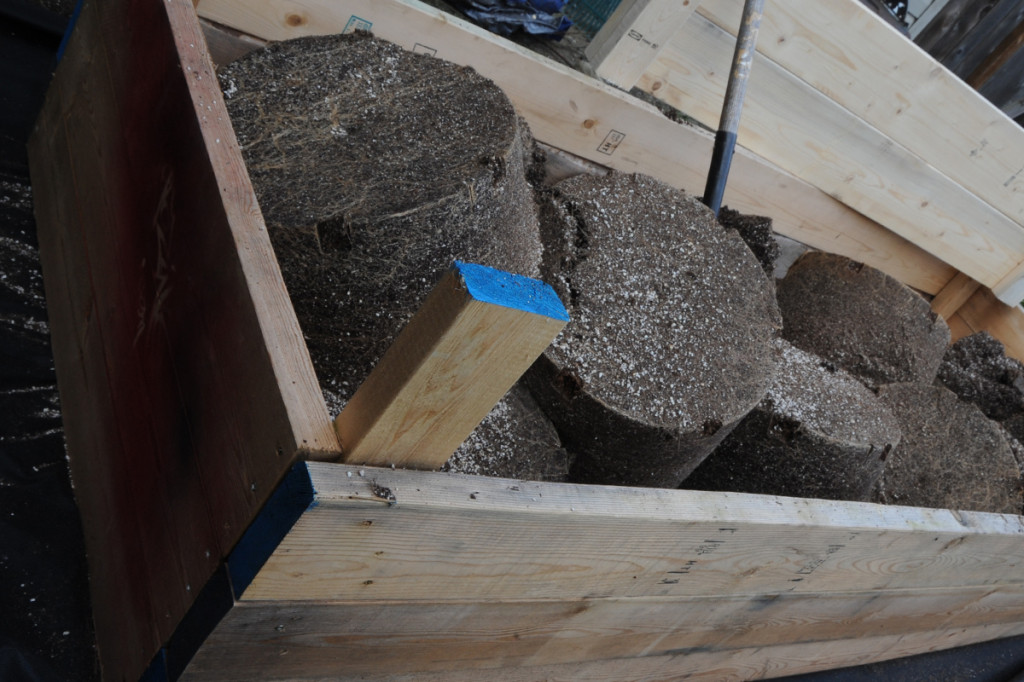
If you use good clean fertilizers for your indoor crops grown in planting mixes, for example in containers, recycling the growing mix outdoors is a productive use of it versus landfills, etc. Growers who use PGR’s etc,-well they just shouldn’t and even more so, shouldn’t plan to grow successfully in it later on, no many how many times it is flushed.
It’s a good idea to supply some Dolomite Lime to peat moss based soilless growing mixes, even if already pre-buffered. Most grow mixes, especially if being reused, will not have the longevity of buffering with the original dolomite charge for full season in a raised garden bed full of hungry and productive plants.
Broadcast and incorporate at least a cup of prilled dolomite lime for every 107L bale of compressed mix you add. If you add organic materials like composts, consider increasing the amount of dolomite lime to buffer the acidic nature of composts. If not buffered, peat mixes can become too acidic over time, especially when coupled with fertilizers.
TIP:
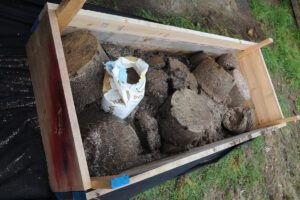
If recycling indoor garden growing medium to your beds outdoors, once it starts to warm up outside you can cover the freshly dumped mix with roots, etc into the beds and staple down a sheet of black polyethylene. A couple of rocks to hold against wind is a good idea too. Root debris will quickly compost like this and the beds will be biologically warm and actived when it’s time to transplant.

