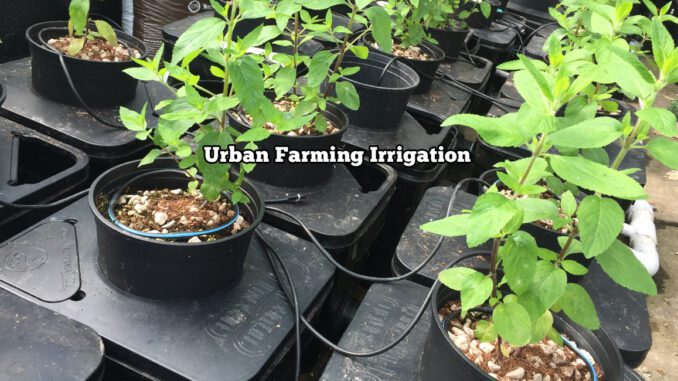
Urban Farming Irrigation
Automation, Conserving Water & Heavier Yields
[quote]Precise moisture management can improve yields significantly, and allows you to “steer” the crop for a variety of responses. [/quote]
Urban Farming irrigation combines traditional agricultural irrigation supplies and practices with modern hydroponics nutrient solution delivery tactics to provide scalable and cost effective ways to water and feed your crops in urban settings. Following these practices and creating your own highly adaptable system with readily available materials will save you tons of time versus manual watering–and can save on water too. Drip irrigation systems can be ideal in Urban Farm settings because you can get very precise levels of moisture exactly where they need to go–right at the base of your plants and down into the root system.
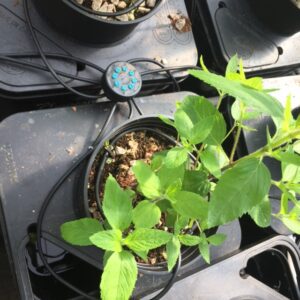
Above: Healthy Soilless Plant with Drip Irrigation
Setting up and urban farm irrigation system like we show here will also allow you to have much better control of your water quality and fertility levels.
By using filtered or rain water free of chlorine and chloramines, you can better build the natural microbiology in your garden to get better tastes and healthier plants from all that your grow. It’s great peace of mind to know that you aren’t feeding your plants contaminants from tap water supplies too–after all, you are what they eat!
Precise moisture management can improve yields significantly, and allows you to “steer” the crop for a variety of responses. Have a look at this Report on Essential Oils in Spearmint and Moisture Management.
You can choose to setup the system directly off of your water supply, ie pressurized plumbing, BUT we are showing how to do it with a reservoir or cistern. This has several advantages:
- reserve of water if there is an interruption in your water supply-critical!
- allows you to collect and treat rain water
- easy and simple to add nutrients and fertilizers to the water as needed; avoids costly dosing equipment*
- relatively simple and fool proof; if there is a leak, you only lose what you have in reserve, ie no endless gushing
*large scale professional growing automation may benefit more from precision dosing equipment due to economies of scale
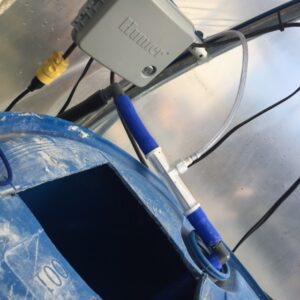
Above: Pump Relay & Poly Barrel Reservoir
How it Works
From your spigot or water supply (ie collected rain water) you will want to Filter your water before adding it to your reservoir or cistern. For our 12′ X 20′ Greenhouse One 55 Gallon Poly Food Drum (used, scrubbed well) will easily last one to two days with a precise drip irrigation system. We use either TallBoy Solid Filtration or Stealth RO Filtration to fill up our Reservoir. A float valve helps to automate the process (optional)
The reservoir has a hole drilled into the bottom that has a water tight rubber grommet so we can insert 1″ diameter plumbing fittings. A water tight and durable seal is critical. Our reservoir is raised above our pump–gravity feeds the pump water from the reservoir. This is a Jet Pump, it is powerful and allows us to add onto the existing system as needed. We also add Nutrients and Fertilizers as required right into the barrel.
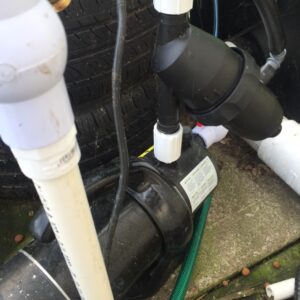
Above: Jet Pump & Barrel Filter
NOTE: For a smaller system that you don’t plan on expanding, you can just add a durable Submersible Pump right into the barrel–plug this into a timer and Bam! Seriously easy and effective watering automation.
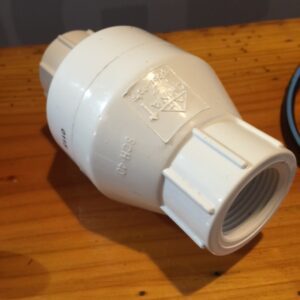
Before the Jet Pump installing a check valve is a good idea, that way the system remains pressurized when the pump shuts off. Our Jet Pump is activated by a relay that is linked to an irrigation timer. This may not be necessary, but is preferred. A simple appliance timer that the pump plugs into directly can work too, but does not allow you to program different Irrigation Zones that you can control with Solenoids easily.
Above: Check Valve
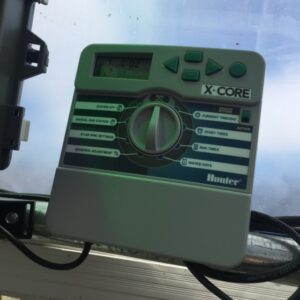
Having different programmable irrigation zones in the same system is actually much easier than you think. The programmable timers are widely available and are fairly friendly when it comes to cost and ease of use. We recommend it–control your front yard, back yard, beds, and hanging baskets independently form the same system. Saves water, grows better plants.
Above: Affordable & Programmable Irrigation Controller
From the irrigation controller, as programmed to operate, a signal is sent the relay that controls the pump. At the same time, the irrigation controller sends a signal to the Water Solenoids in the Irrigation Manifold to Open the appropriate zone for watering. A relay is needed because it operates higher voltage appliances like pumps. The timer and solenoids operate at very low voltages for safety. The low voltage signal triggers the relay that controls the higher voltage pump circuit independently.
After the Jet Pump the water is distributed into two different lines, EACH contain a Barrel Filter (essential). Without a filter, the drip irrigation emitters will clog easily and you will be endlessly fixing clogs and replacing emitters. These filters have a reusable filter that is easy to clean to keep the urban farming irrigation system functioning at optimal. One direction is straight back into the barrel, this serves as a mixing valve/bleeder valve. The other goes into the Irrigation Main (a manifold of piping that links to the individual garden areas, then finally to the drip emitter lines to the plants). Its a good idea to have a valve in each of these lines and one before the pump. This way you can isolate areas of the system to prevent leaking or spillage when you want to work on the parts of the system.
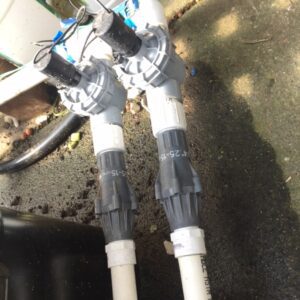
On the manifold, you can Tee (“T fittings”) as many zones as you will need–these will each require a low voltage water solenoid and a pressure compensator (pictured)
Above: Water Solenoids & Pressure Compensators
In the urban farming irrigation system the low voltage water solenoid will be opened by the programmable timer, sending water to the irrigation tubing and finally through the drip emitter system.
A Pressure Compensator reduces the flow to a specific pressure range (low pressure, typically) that the irrigation drip emitters are rated to operate at. otherwise, they will not deliver the exact amounts they are rated for. Most commons pressure compensation is in the 12-18 psi range.
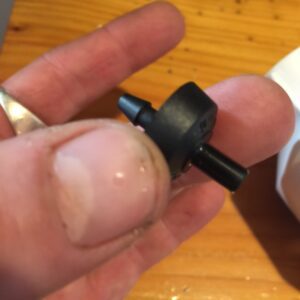
Above: A One Gallon per Hour Dripper Button (best)
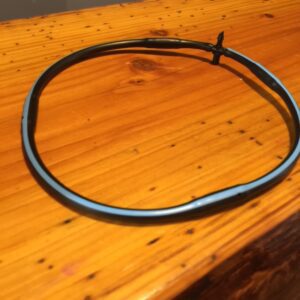
Drip emitters are available in a very wide range of specifications. Drip lines with the emitters already inside, as shown with out homemade drip ring, are best suited for plain water only, ie no fertilizer added. They will not operate at their ratings overtime when fertilizers are used. The Button Type emitter is better suited for use with fertilizers–they are self cleaning, to a point. A filter MUST be used before either type of emitter top prevent clogging–the orifices (openings) are very fine and precise.
Above: DIY Drip Ring (emitters inside drip line)
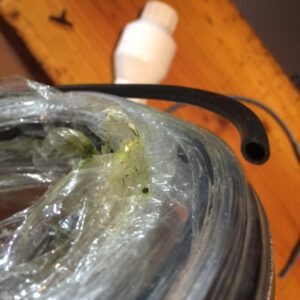
Typically, the emitter lines, T’s and other fittings are designed for using 1/4″ diameter drip irrigation tubing.
Above: Common 1/4″ diameter irrigation tubing
Managing the system is both a science and an art–the important thing relating to this article is that you are now able to control moisture levels with a fair degree of precision automatically. Not only how much water is being applied and when–you can now control exactly where it goes in as vast a system as you endevor to create. You are only limited by your imagination and budget.
For irrigation supplies. visit our friends at:
