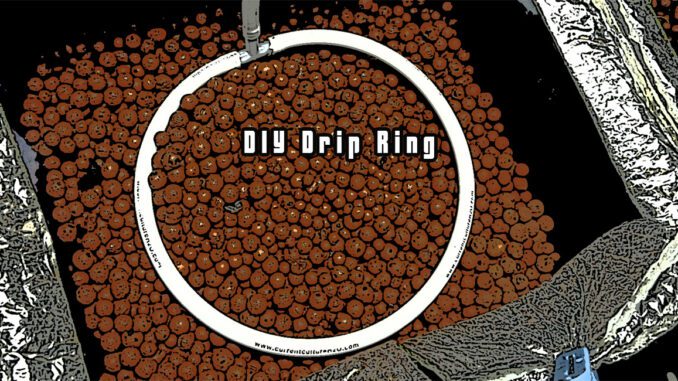
DIY Drip Ring
Awesome Irrigation, Ideal for Hydroponics, Organic Growing & Aquaponics
A DIY drip ring is really easy to make yourself with a few basic parts and a minimum of time required. You don’t need any major building or plumbing skills for this project, just a few simple parts.
The DIY drip ring we’ll show you how to build requires no glue, will not leak or clog easily and comes apart in a snap for cleaning and inspection for a long service life.
DIY Drip Ring Benefits:
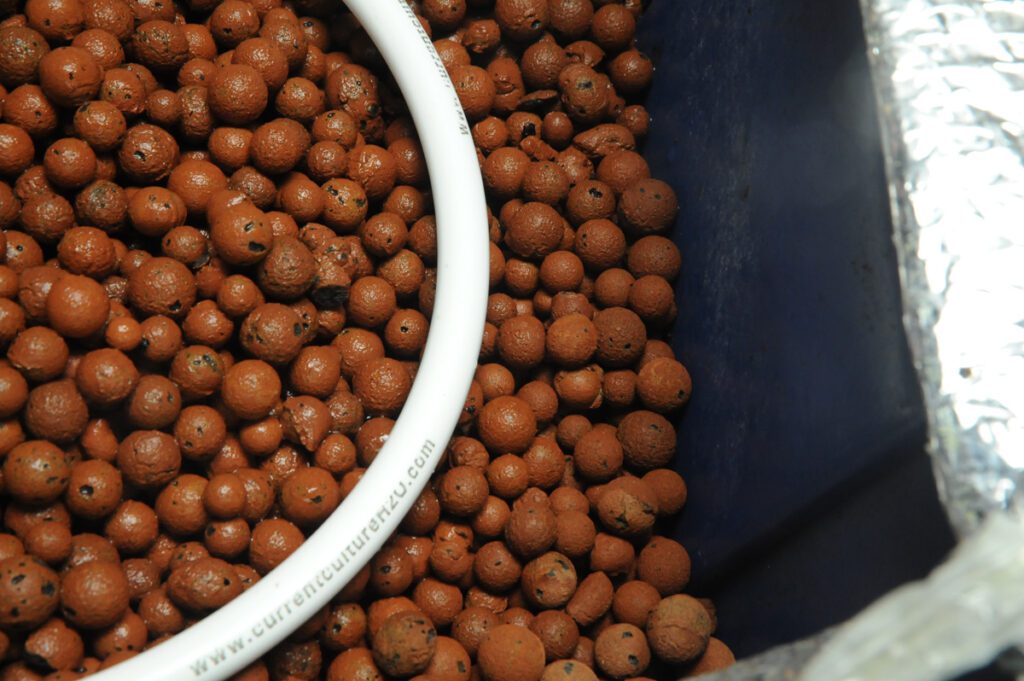
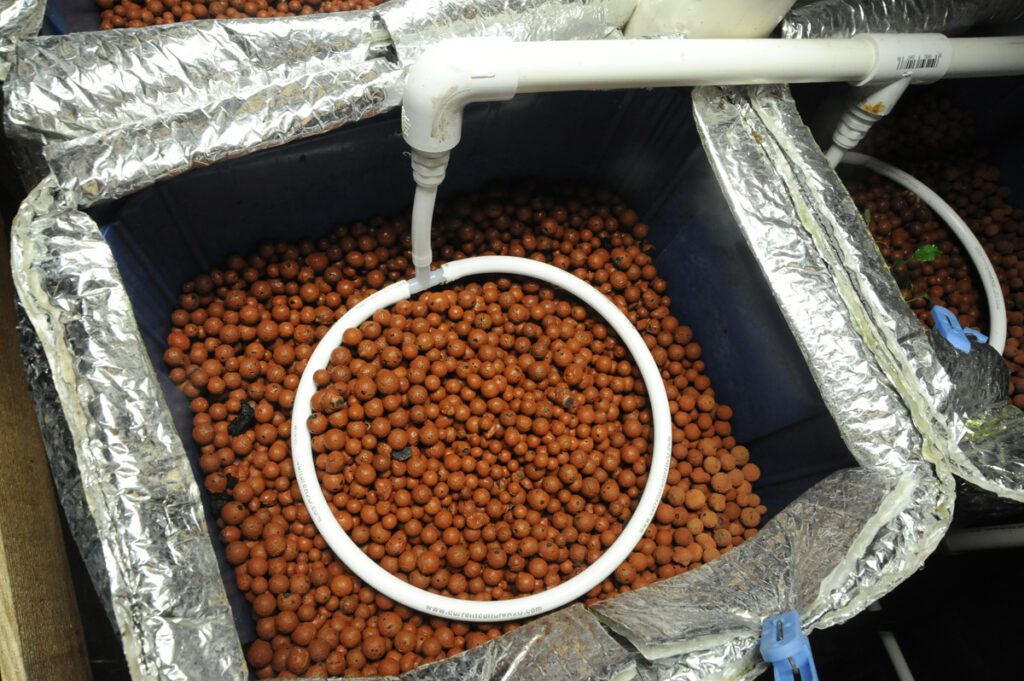
- A DIY drip ring ensures that you don’t waste water in a conventional soil garden, for example in organic gardening practices. Moisture is delivered evenly to where it is needed most–straight down to the roots.
- WATER SAVINGS: Much less water is lost to the air or parts of the soil where it is not in high demand.
- In Hydroponics or Aquaponics gardening where nutrient rich water is recirculated, a drip ring helps maintain even and consistent moisture levels in the root zone; avoiding dry pockets or spots that may stay more water logged-and potentially anaerobic.
- In organic and aquaponic gardening methods, the organic matter in naturally occurring plant nutrient solutions easily clogs drip emitters, which can spell disaster on a hot day. A glueless drip ring is easy to pull apart to inspect and clean by soaking in a bucket of hot water as routine maintenance.
- Can be cleaned easily (glueless) and reused over and over again.
Easy How To DIY Drip Ring, Step By Step:
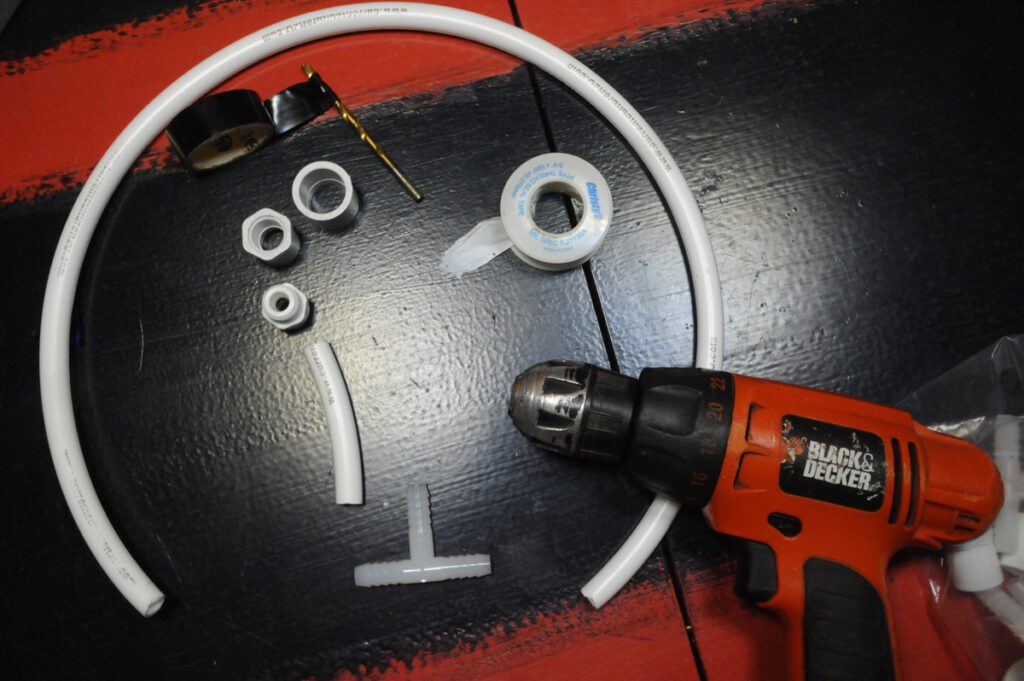
Basic DIY Drip Ring Parts List
- 3/8″ diameter thick walled poly tubing (we got a roll from cch2o.com)
- 3/8″ T-Fitting
- Tape (for drill bit)
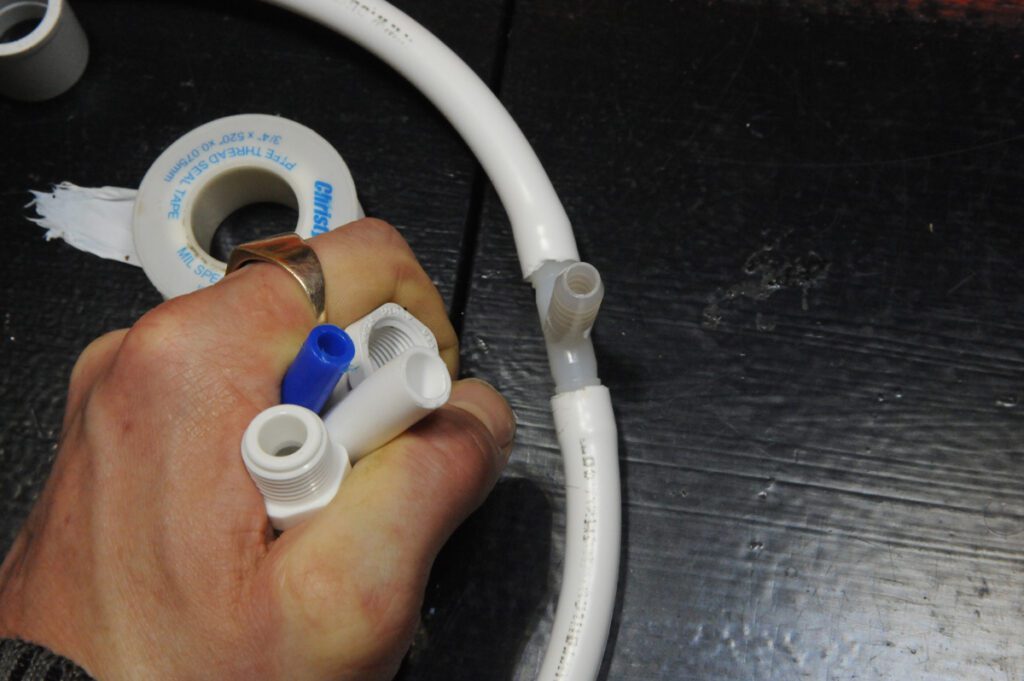
- Teflon Tape (for plumbing threaded fittings)
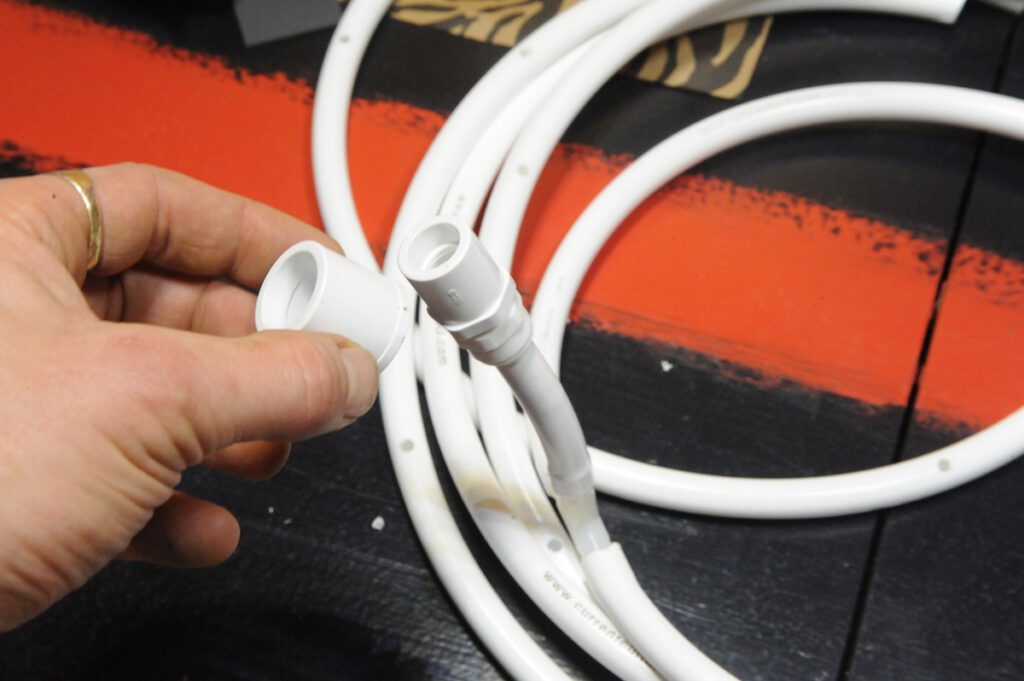
- 3/4″ to 1/2″ coupler (our aquaponics manifold uses 3/4″ diam. pipe)
- 1/2″ to female threaded 3/8″ fitting
- 3/8″ slip fit (to tubing) male threaded (to fitting) coupler
NOTE: you can find all of this stuff at a local hydroponics store usually, as well as major home building centers or online shopping sites–it’s lightweight and ships cheap
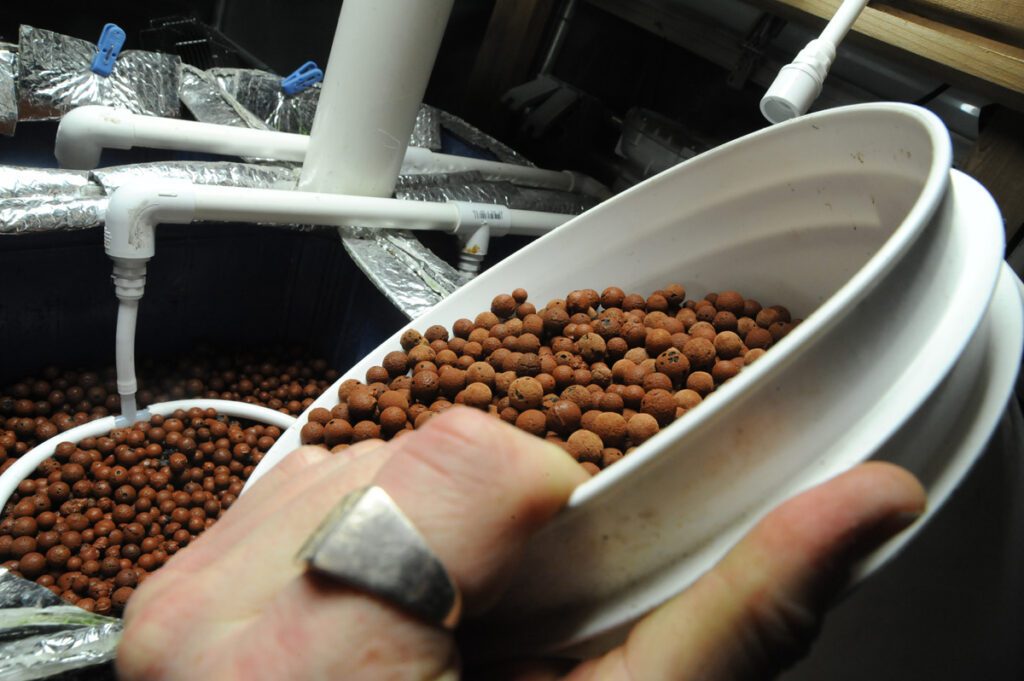
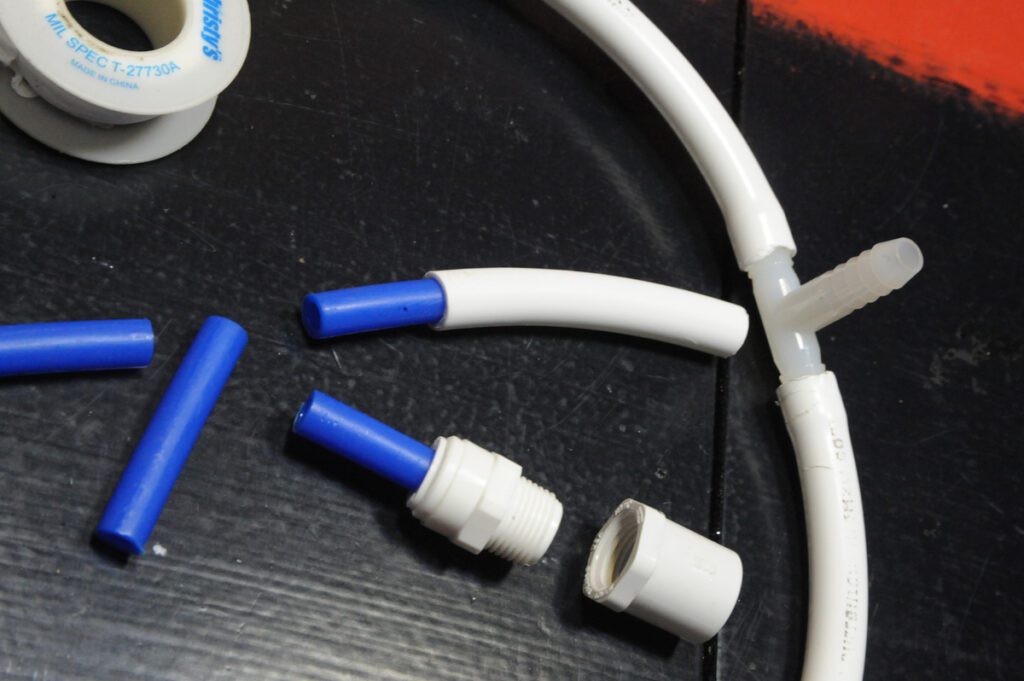
*No glue required–our system didn’t require any glue for a water tight connection between the DIY drip ring and our piping system used to recirculate the aquaponic tank water.
DIY Drip Ring Fabrication
The length you’ll cut the tubing to connect your T-Fittings to both ends to make the ring will depend on the size of the planter bed or individual plant size you want to cover. You can use one big ring or several smaller ones to get really precise–the more rings, the more parts you’ll need to buy.
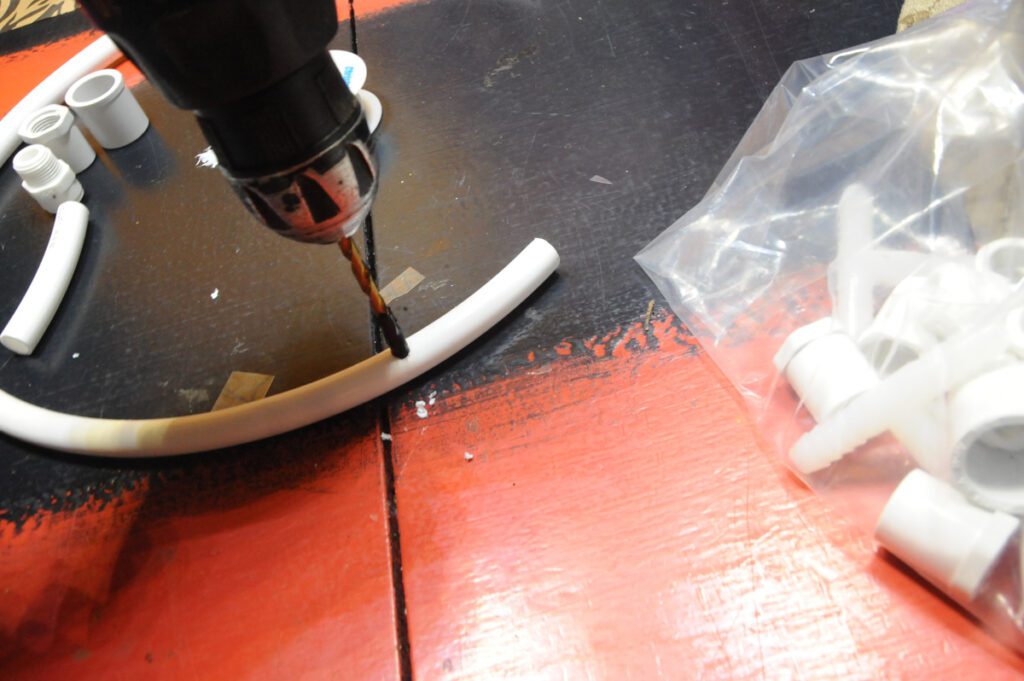
Wrap a piece of tape around a 1/4″ drill bit or sharp poker so you don’t run the risk of pushing right through both sides of the tubing (as pictured above) we drilled FIVE holes (1/4″ diameter) into a piece of tubing about sixteen inches long–perfect for covering around a square foot of garden bed once in action.
Try a ring out for size and flow–if it’s what you are after, go ahead and drill out the rest and affix both ends of the tubing to the T-Fitting with the 1/4″ openings facing down once installed.
Do a loop or two of Teflon Tape around any threaded fittings.
Couple all your fittings together until you have as many DIY drip rings as you like and are ready to attach them to whatever piping or manifold you use in your irrigation, hydroponics or aquaponics system.
