Building Sealed Grow Rooms, Part II Construction Basics
Avoiding Costly Mistakes, Growing Better Crops
In our last instalment of Building Sealed Grow Rooms for hydroponics, organic and soilless crops (missed it, click HERE) we discussed the advantages of operating the indoor growing environment as a CEA (controlled environment agriculture), ie “sealed” set up—and looked at some of the expenses associated with stepping up to “The Perfect Room”.
With lots to talk about in terms of grow gear specifics, let’s first look at the actual construction.

Grow Tent VERSUS Walk In Room
Grow tents are widely available and come in a variety of sizes. There are lots of brands to choose from, and most of the established brand names offer good quality for the money when building sealed grow rooms.
CEA Grow Tent Advantages:
- inexpensive per square foot of growing space
- set up in hours, not days
- can be taken apart and moved many times, if necessary
- highly reflective surfaces for lighting
- easy to keep clean
- good for containing minor spills, ie leak proof flooring
CEA Grow Tent Limitations:
- negligible levels of insulation
- limited vertical height versus high ceilings
- only available to certain size (although you can use more than one)
- shorter working life versus walk-in grow room
- heats up very fast, cooling is critical
- not able to wall mount or suspend electrical, plumbing or heavier equipment easily
- does not dampen noise (ie fans, pumps)
- while lockable, not very secure, ie easily cut with a knife.
[ml-adverts location=home-page-content-banner-8]
A walk in grow room can be constructed from an existing room or as new in the building. Some gardeners are happy to cover the walls and floor in an existing room with black and white poly after covering and sealing any windows and call it “ready” for installing the gear.
How well this approach will work depends on a lot of things, and is usually not recommended if you intend to operate your sealed grow room for more than a crop or two. If not done and operated correctly, you may potentially damage the existing room, ie dry wall, flooring, ceiling, etc. Further, you want the room to be TIGHT, ie no light leaks and air escaping or entering uncontrolled from the surrounding environment.
For the best possible results and a long service life, it is recommended you spend the extra time and money to do some minor construction, which we will talk about after going through the Advantages and Limitations of building a walk in sealed grow room.
CEA Walk In Grow Room Advantages:
- easier to secure and install electrical, plumbing and heavier equipment like air handlers and carbon filters.
- secure
- can be built very air and light tight
- able to include as much insulation as required for efficiency and/or deadening sounds
- can be made “roomier” versus tents, making it easier to perform necessary tasks in the garden, ie “walk in”.
- durable, easy to clean.
- with paint can be more reflective over the long haul*, improving lighting efficiency
- fire resistant
- may be easier to comply with local codes
CEA Walk In Grow Room Limitations:
- more costly to construct versus grow tent, ie materials
- greater building time required
- building materials may require transport and delivery to the site
- may require professional builders
- may require inspection, see local codes*
*note in some instances if you are not building anything new, rather, modifying existing building no permits or inspections may be required if performed by a professional.

Building Sealed Grow Rooms, Recommended Building Materials
In building sealed grow rooms it’s advisable to consult and follow electrical, plumbing and building codes. Walk in sealed grow rooms are a significant investment of money and time to most folks, so it would be advised to protect your investment and manage any potential risks in this regard. In a lot of places, in fact most, there are no building codes that specifically relate to grow rooms. This doesn’t mean you can throw caution to the wind, it usually means you have to Over Build to play it safe, ie exceed regular building codes.
[ml-adverts location=home-page-content-banner-3]
Framing
Steel or wood joists, framing etc as with regular construction. Wood is easier to work with and may help to create a safer building (steel melts at a given temperature, wood burns for a while—ie maintains structure for longer in event of a serious fire). Secure framing means mounting heavier equipment like air handlers and carbon filters will be easier and help to create a safer and more reliable installation.
Doors
The tighter fitting and heavier duty, the better. Steel doors while heavy, are an excellent choice. A lock is always a good idea, and consider a peephole that goes from inside the grow room looking out into the surrounding area.
Above: Painted surfaces may reflect more light over the long run over common black & white plastic
Insulation and Wall Coverings, The Debate:
Fire retardant insulation and vapour barrier is recommended, as per regular building codes. Dry wall is a popular choice for walls, then typically covered with Black & White polyethylene plastic for light reflectivity and to help prevent damage from moisture. However, because it’s popular doesn’t necessarily make it the best choice!
Plywood sheathing that is painted first with a low volatility oil based primer and then covered with several coats of flat white latex paint may be a superior choice, as many veteran growers have found. Covering walls with plywood provides excellent sound deadening, improves insulation, allows for plumbing, electrical and heavier gear to be installed more easily.
Over the long haul, painted surfaces offer superior reflectivity and durability. Black & White Poly and other common grow room coverings are very reflective—only when they are fresh off the roll. It doesn’t take long for the static cling of the reflective plastic to start gathering dust, which significantly cuts back on how much light gets redirected to the crop from the grow lights after hitting the walls. Plastic is also subject to tears, rips, etc. Further, most Black & White reflective films become brittle and yellow within a year or two. How fire retardant most of the Black & White poly that is sold is questionable; painted plywood appears to be a much safer option in this regard.
A well prepared painted surface is very reflective—and stays that way for considerably longer versus poly coverings. The walls, floor, ceilings, etc can be easily scrubbed clean and do not have the static “cling” that poly has, ie no dust sticks to walls easily and readily. As flooring, painted plywood or concrete is infinitely more durable than laying down a 6mil poly sheet (destined to fail, potentially damaging building). Before painting plywood wall or floor sheathing caulk any cracks or gaps with natural silicone. After painting and allowing sufficient time for the room to “cure” it will be very air tight—all the fasteners, cracks, etc have been sealed under layers of primer and paint.
NOTE: even in a well ventilated room, allow two weeks for paints to fully dry and “cure” before introducing live plants—some varieties can be very sensitive to any latent fumes in a tightly sealed grow room.
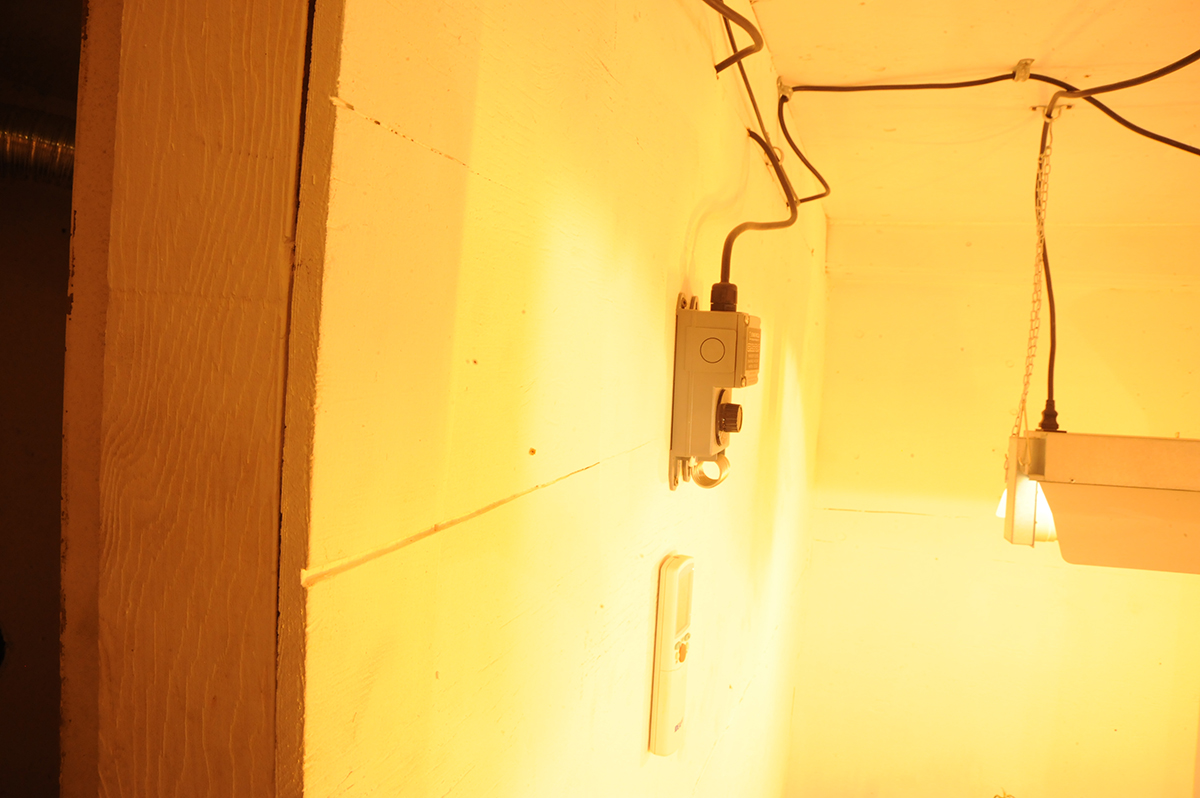
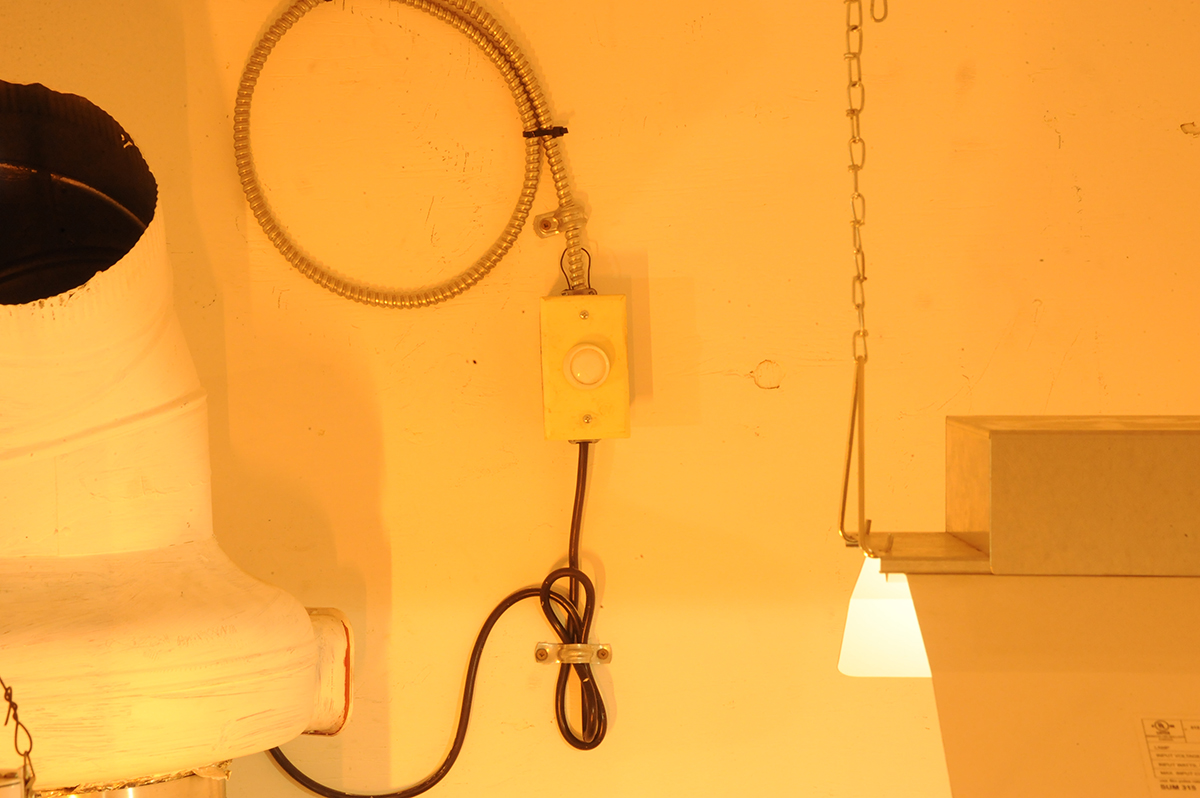
Wiring
Following code is very important when it comes to wiring in building sealed grow rooms. Do not overload circuits, breakers or try and save money by using lower gauge wiring. If you are going to “overbuild” anything, this is the best place to do it.
Tips:
- Never “max out” your circuit breakers rated amperage; keep at least 25% of the rated amperage available.
- Always ensure the correct gauge wire is being used relative to amperage draw.
- Armored wiring ie “BX” is often preferred by inspectors and seasoned growers alike
- Use steel junction boxes and outlets at wiring connections with proper wire connectors.
- Keep wiring visible and accessible, securing with “Omega” straps frequently to support and hold wiring in place
- Avoid plastic extension cords as much as possible.
- Never run appliance cords on the floor—keep secured to walls or ceiling at least a foot off ground level.
- Use only heavy duty grounded timers.
- Any outlets that are associated with watering or circulating systems should be GFI protected for safety

Plumbing
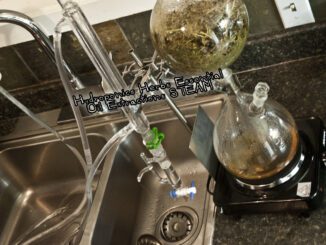
One of the coolest advantages of building sealed grow rooms is that you can Reuse your water—over and over!
In theory, you only need to fill your reservoir once with fresh, RO (reverse osmosis) filtered water. After that, your Air Conditioner and DeHumidifier will capture whatever the plants use up and breathe back out into the environment through the leaves. This “capture” should be plumbed in when building, ie from the appliances back to a reservoir where it can be treated and reused, over and over again. Here’s the perfect filter for the job: ARCS.
If you opt to reuse your water as described above, you won’t need much in the way of fresh water supply coming into the grow room. If you don’t, it’s a good idea to plumb in a fresh water source that connects to a water filter, then discharges filtered water into your storage tanks located in or near the sealed grow room. Black poly trash cans with lids work fine for smaller rooms and can double as a reservoir for mixing and distributing nutrient solutions to the crop. You don’t want to be carrying buckets of water every time your crop looks thirsty or when your reservoir needs topping up.
If possible, a floor drain that will not clog up easily with debris, ie soilless mix is excellent to have, making life easier and crops possibly better—because you can apply extra water to your pots, draining away excess nutrients building up over time.
TIP: Keeping your collected water in a light tight and aerated container in the grow room will ensure that it is at an optimal temperature when you apply it back to plants. Cold water shocks plants and slows growth.
In our next instalment of building sealed grow rooms, we’ll talk about how to select, size-up and install the necessary equipment you’ll need like lighting, air conditioning, humidity control, air circulation, purification and carbon dioxide enrichment. Naturally we’ll show you some options for controlling it all smoothly—or even remotely—stay tuned!