Starting Garden Transplants Indoors
Starting garden transplants indoors is easy and doesn`t have to be expensive. While there is a little bit of work required if you plant to grow your transplants out to a good size for your outdoor gardens, containers and baskets, it can be very rewarding. First off, in the long haul you can save money-especially if you follow some of the easy principles offered here in starting garden transplants indoors.

Secondly. The health of your garden transplants can be superior over those that lagged at the nursery and box store-also consider all of the transport involved.
Of course having healthy plants that you grow yourself means that you can sleep sound about things like pesticides and GMOs.

In Starting Seeds in Hydroponics Easy Tips
we showed you step-by-step an easy and very productive way to germinate a wide variety of seeds in a small amount of space with success.
Naturally, after your hydroponic seedling become established, you can keep them amped up growing in a hydroponic systems like an Under Current, but for this instance we want to pot up our starts for transplanting outdoors once the weather provides.
The real trick for the healthiest crops, is for them to stay that way-ie, no hiccups!
DON`T let plants become root bounded or crowded in seeding trays.
DO make sure they stay vibrant and healthy by seeing that they get the next size up for plating when they need it.
Since we are growing a block of veggie starts, typically, individual plants will benefit from more space. This gives them more room to create a healthy root system that support a plant in tougher outdoor conditions as well as ensuring that there is enough light and air reaching all parts of the small plant to prevent stretching
Stretched or `leggy`seedlings are undesirable: a weak start at best. That`s the result of excessive humidity and a lack of light. Too much fertilizer will really aggravate the condtion.
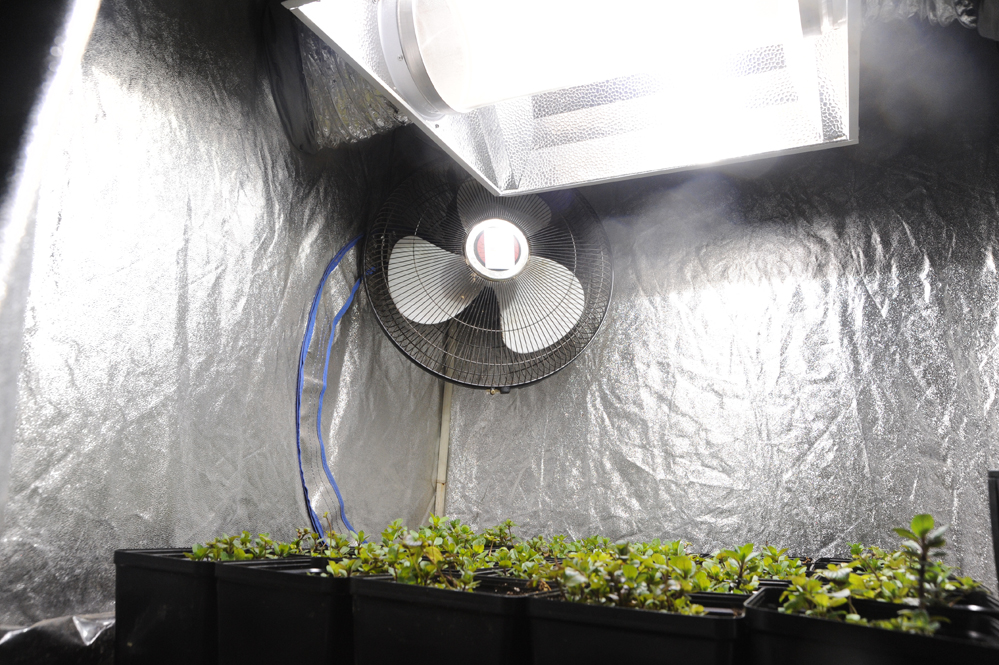
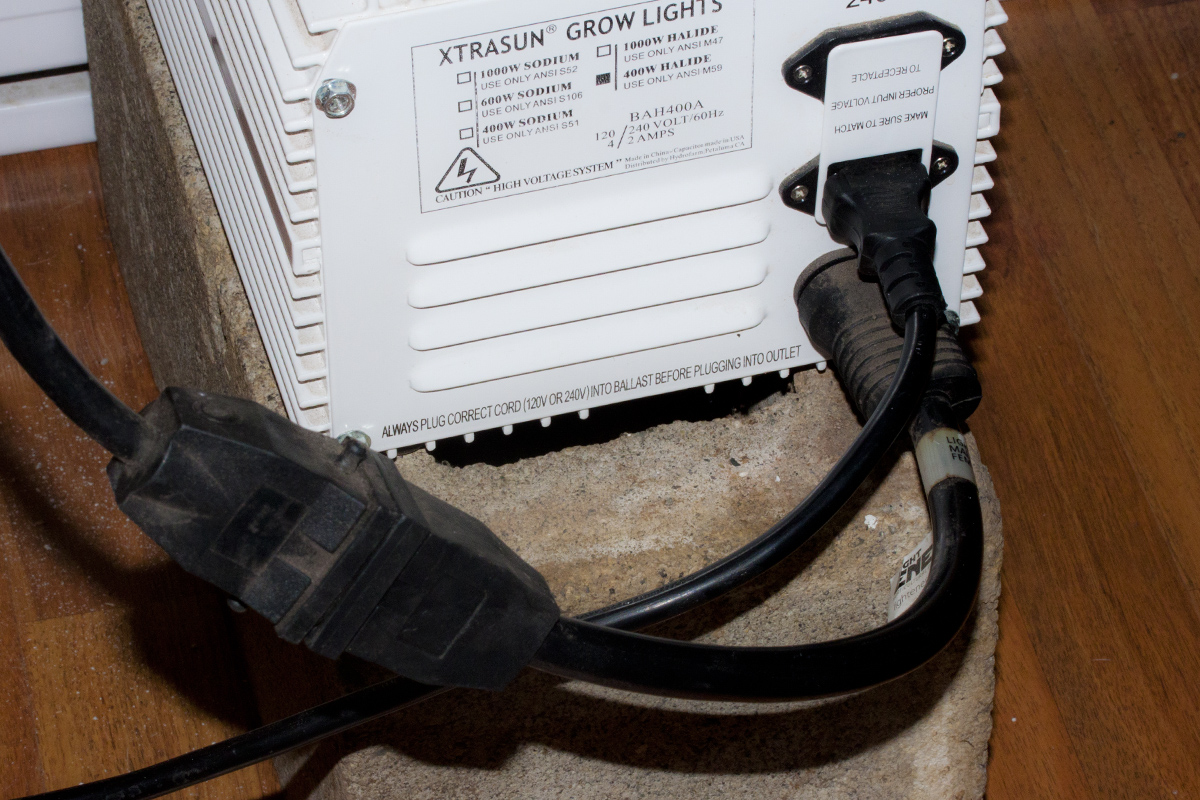
Our solution for raising transplants is easily;y adapted to a variety of situations was to cover a square meter of a home built wooden garden flood table (Grozine 8 for How-To) with a new sheet of 6 mil poly and add a 400 Watt Metal Halide Ballast, Bulb and Reflector Kit. If you shop around, you can get a safety approved set, brand new usually for less than a few hundred dollars-including delivery.
Since the light produces some heat, what you spend in electricity is recovered if you typically pay for home heating in early spring or late winter-starting in a little used spare room is ideal.
DO make sure the reflector is securely suspended. Use heavy duty anchors for ultra light weight reflectors, and for heavier air-cooled models, make sure to securely anchor eye-hooks, etc into studs or have an appropriate way to hold the weight safely.
The ballast and cords are plug and play for home use when they are supplied as certified. Its always a good to keep cords off of the floor, away from moisture or where they could be tripped over-use some common sense. DON`T overload circuits. For reference a 400 watt HID lighting system uses similar draw to a home computer system running. DO Use grounded cords and timers only with certified ballast kits. You wouldn’t buy an Un-Certified oven and walk away from it would you?
Bulbs can get VERY HOT after running for just a few minutes. DON’T touch or stare into the lamp. DO shut off the light when watering or misting your plants-and wait at least 10 minutes after shutting off before doing so. Sunscald isn’t good for plants and neither is a cold drop of water to very hot glass.
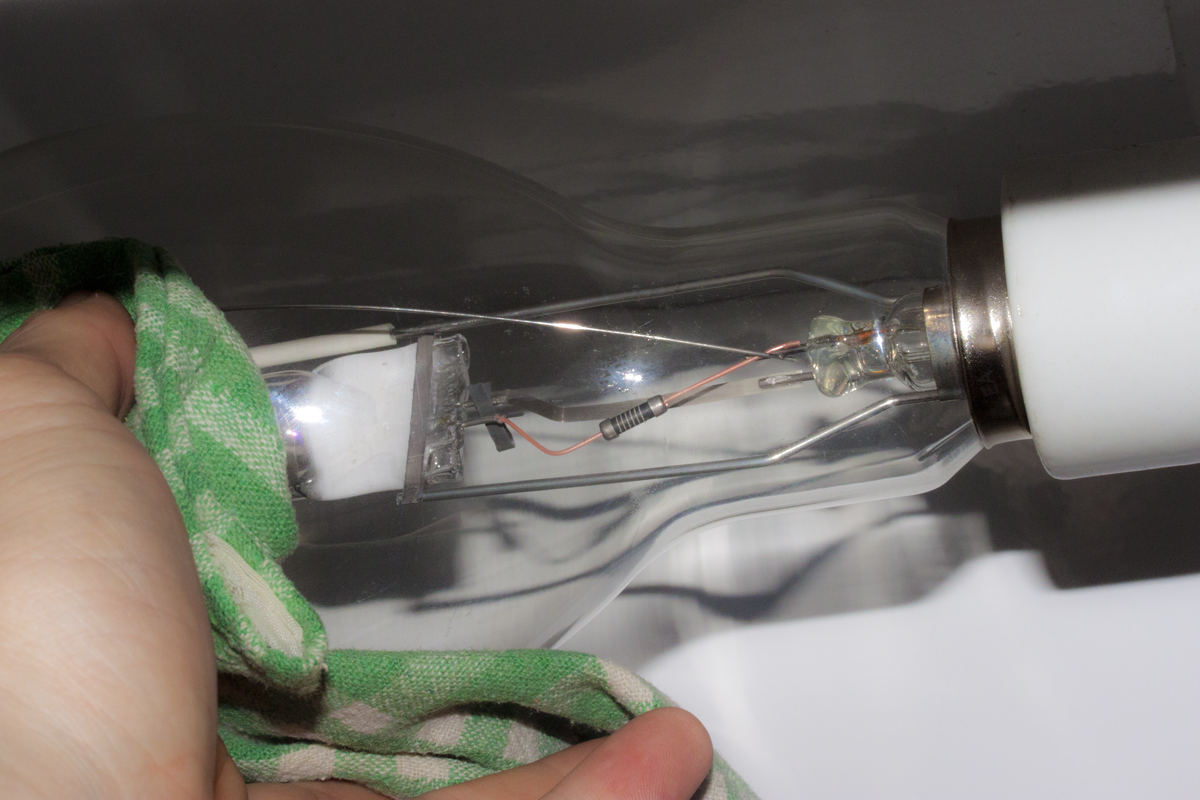
Above: When installing lamps into a reflector, make sure it is unplugged and not to leave finger prints on the glass-the oils can cause problems on the hot glass in some instances
For most plants a lights “ON” time of 14 hours is plenty, although giving them 16 or even 18 hours on can produce some incredible results. As plants develop they will need more care-and that’s coming up soon, here online at Grozine.com. Coming Soon: How To Transplant Your Hydroponic Seedlings as well as some grow plant grow tips in starting garden transplants indoors under grow lights.