Reusing Soil
Get Growing Again and Save
[quote]Digestive enzymes (works on cellulose, old roots) and B-Vitamins will really help ignite the reaction and get the soil going again[/quote]
Reusing soil from a successful crop is entirely possible. While not recommended for the beginner or for those who aren’t tightly tuned into their feeding programs, reusing soil and soilless grow medias and grow mixes can save money, create less waste and even potentially give you better yields at harvest.
If you have applied any crop growth regulators or heavy chemicals reusing soil from your garden is not advised. Other things to avoid are soils that produced poor crops, due to incidence of pests or disease. DON’T move outdoor soils indoors. DO use professional blends, amendments and materials-save your composts, etc for outdoors.
- Make sure that the crop previous was very well flushed of excess nutrients and fertilizers prior to harvest. Not only is this important for your harvest quality, it will have a lot to do with the health of your next crop when reusing soil and soilless mixes growing indoors.
- Even if you grow with strict organics….FLUSH WELL.
- Before removing the old plant roots etc, let the medium dry out completely, and if possible allow a fallow or “rest” period of a week or so. Training a fan and some heat onto the root ball laden containers or beds, especially when coupled with some microbes or enzymes, can really improve on and speed up this process.
- When handling dry ingredients, it is VERY IMPORTANT to wear a cloth or mask over your face. Sensitive people might consider goggles too. Inhaling dry ingredients, even if organic, can cause respiratory irritation, at the least. A light mist of water helps keep dust down too.
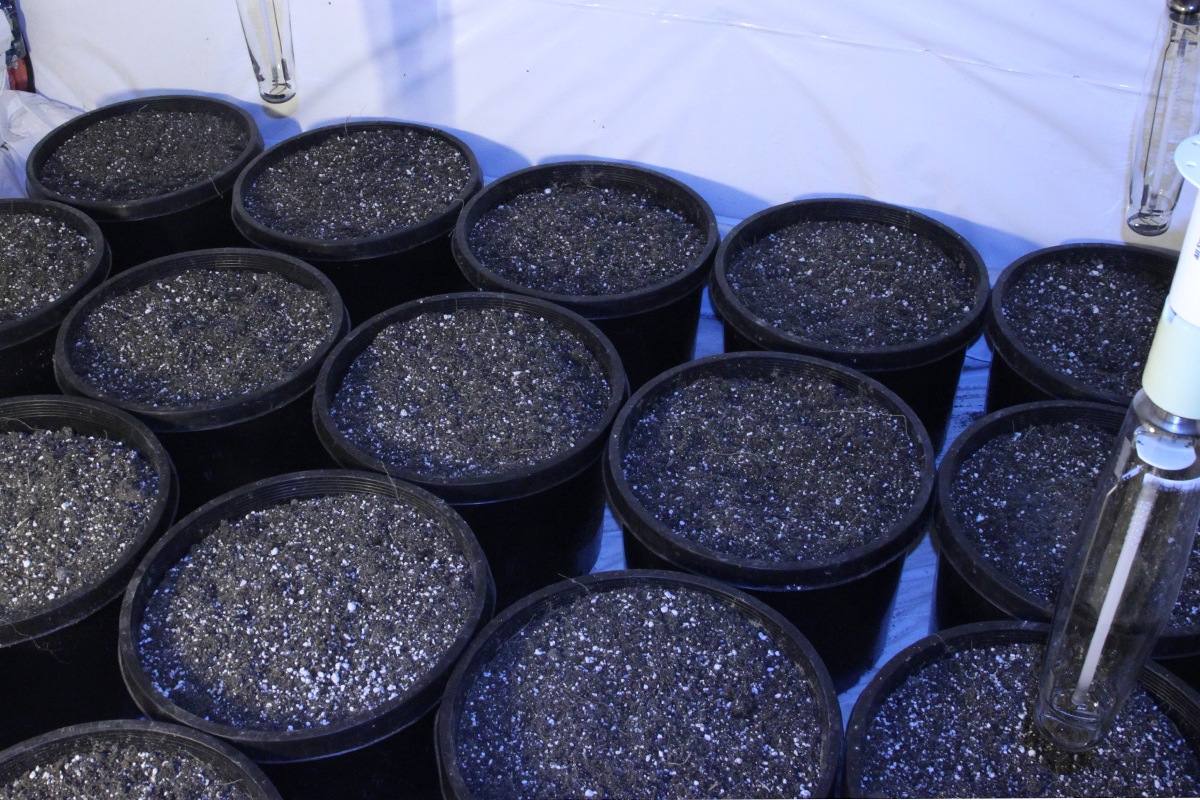
- Working over a tarp, large tub or similar pull the dried up root ball from the pots or beds-in the case of beds, you basically just flip the soil upside down in section by section.
- Pull and cut away as much of the root mass as possible; giving a good shake or whack helps to break the medium free and leave the roots behind. This can be a little MESSY, but have FUN!
- Discard old roots, stumps, etc into compost.
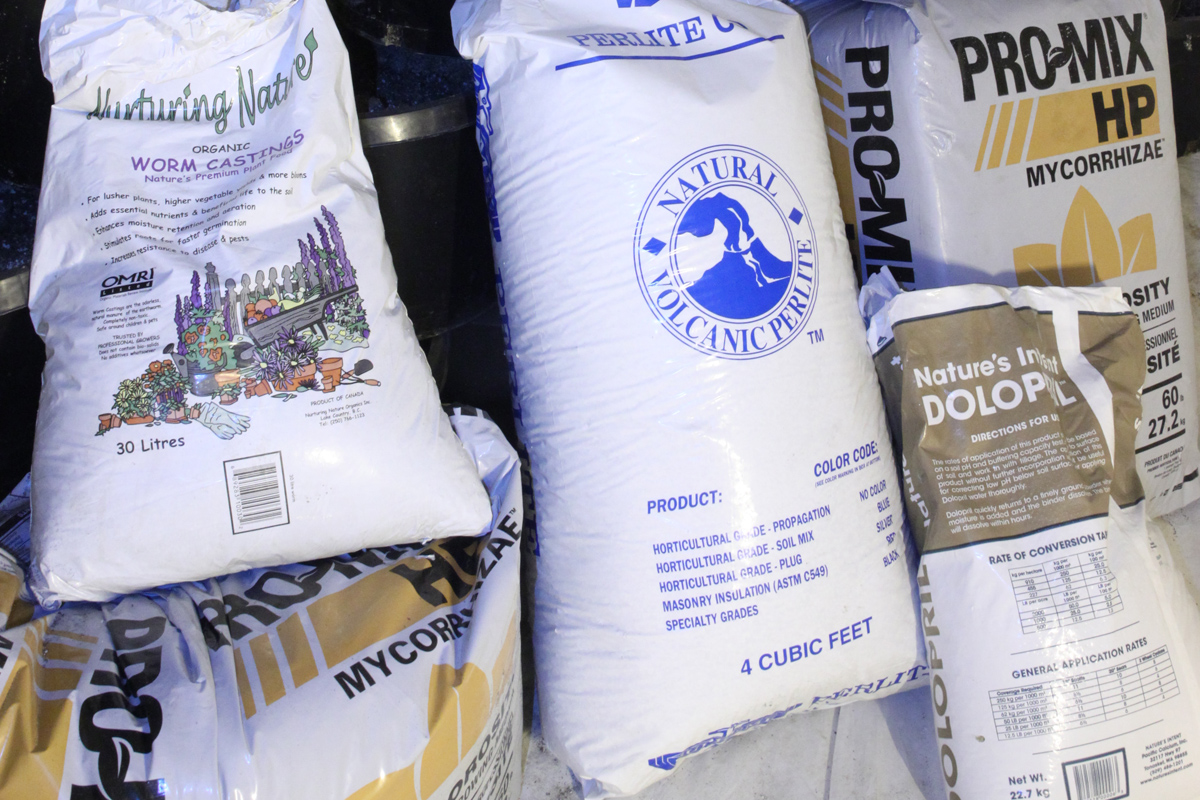
- “Top-Up” your soil or soilless medium or blend with additional ingredients. Worm castings and perlite or pumice are almost always a great idea. Peat mixes may require some hydrated and dolomite lime-about half a cup of each per commercial “bale” worth.
- Using a small shovel or spade helps to break up any clumps and blend the ingredients well.
- Refill containers and beds with mix.
- “Re-Charge” the medium before planting. Thoroughly water in a nutrient solution with some Nitrogen and Calcium content. Adding an aerobic tea or beneficial microbes is a great idea at this time. Digestive enzymes (works on cellulose, old roots) and B-Vitamins will really help ignite the reaction and get the soil going again.
- It’s best to wait a few days before planting again-don’t let the soil dry out or get too cold during the re-charge.
Want to LEARN MORE about different Nutrients & Additives?
Click –HERE–