Pre Veg Growing Stage
The Bridge to Healthier Crops
[quote]The goal in pre-veg is to ramp your young plants up for more intensive vegetative conditions to follow[/quote]
The Pre Veg Growing Stage even experienced growers can make the mistake of ignoring when they put young plants into full intensity vegetative growth as soon as new roots have developed in cuttings or as soon as new leaves are forming in seedlings. This typically proves to be too great a jump in the intensity of environmental conditions, and the young plants are pushed too hard and exhaust themselves quickly; starting the growing process in a stressed state. Naturally, this leads to slower growth rates, plants that are more prone to insects and diseases and a decreased potential for big yields.
Pre-Veg is an intermediary phase of growth developed to produce plants that are at their peak of vigour and health throughout the entire growing process. When you start strong, you have a better chance of finishing strong. By following this guide, you can direct your young plants through the pre-veg phase with confidence. Once your new have roots or are developing new leaves, they are ready to begin pre-veg. In the ten to fourteen days during the pre-veg phase, you will have transformed your tender young plants into verociously feeding super plants. It becomes clear, that even from the earliest growth phases, everything you do is going to have an influence on your final yield to come.
The first step is to get your plants used to living out from underneath their protective propagation dome. If the dome you are using has an adjustable vent, open this a portion at a time until fully open in about 2 days. Otherwise, you can simply start to slide the lid open at the base of the try, at first leaving it half an inch and finally a couple of inches open by the end of two days. After this, remove the lid entirely.
Watch the plants closely for the first few hours following the removal of the lid for any signs of drooping or wilting. If your plants look sad without the dome, you can mist or put them back under the dome and wait a couple more days until they are better rooted or developed.
The next step is to transplant the rooted cuttings which you may have in Root Shooters, Rockwool cubes, Jiffy Pellets or similar into a bigger volume of growing medium. If you are going to be growing in containers or beds, an ideal and easy to find container for the pre-veg phase is a plastic beer cup. Make sure that the cups are clean, and poke some ¼” drainage holes along the bottom edge of the cup. In ten to fourteen days, this cup is going to be filled with roots.
Next, fill the cup with your growing medium of choice, like peat based soilless mixes, coco mixes, perlite, grow rocks or loose rockwool. Leave some space at the top for the depth of your transplant plug/starter, also with some additional room at the top, so when filled later, there will be a half inch space between the growing medium and the top of the cup.
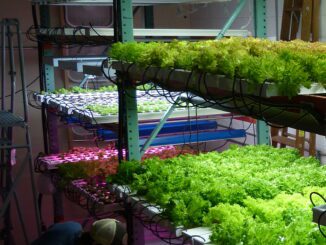
Set the partially filled cups aside. Keeping the cups in 10” X 20” trays helps keep your plants together and from falling over while providing optimal spacing. For pre-veg, each plant is going to need about a three to six inch square of space underneath the light source. Lower wattage metal halide lamps (250-600W), high output T-5 fluorescents, CFLs, or veg engineered LED grow lights are the best choice for lighting in the pre-veg phase. Lighting requirements are slightly stronger than rooting, however still relatively lower than in full-on vegetative growth. Optimally, about 1200 lumens of cool white fluorescent lighting will be delivered to plants at the start of pre-veg and gradually increased.
Before you start to transplant into the beer cups, pre-treat your transplants with a B-Vitamin Solution or Root Tonic. At this point, you may consider adding a Cal-Mag supplement (especially if growing in coco), or 1/8 to ¼ strength vegetative formulation base nutrients to every third watering, including the initial soak at transplant. Additions of Fulvic and Humic acids enhance the effectiveness of any base nutrients you choose. It’s a good idea to pre-treat your young plants at least a few hours ahead of the time you transplant. This way, they will have had a chance to absorb the nutrients and vitamins that will promote less stress and a faster take to their new surroundings. Beneficial micro-organisms you ad from compost teas or inoculating concentrates will help protect young plants from root diseases while significantly increasing the size of the root mass in less time than un-treated plants.
Next, pre-moisten the medium in the partially filled plastic beer cups with the same solution you applied to the young transplants a couple of hours earlier. Gently apply the solution as not have it overflow out of the cups. You should see some of the excess solution draining through the drainage holes you poked in the cups.
Very gently place the Jiffy or Rockwool plug or similar plug/pellet containing your rooted cutting or seedling into the beer cup. Make sure that there is good contact between the root system and the new growing medium. Gently cover the remaining portion of the plug/pellet with more of the growing medium. It is important for success that the plug/pellet is completely covered with the new growing medium, watch for settling of the new medium after the first watering which should immediately follow transplant and filling with new medium.
This first watering is critical because it helps to pull the new medium around the root system, “gluing” the transplant to the medium in the cup. If the top of the transplant starter is poking out above the medium or if you do not water after transplant correctly, the transplant media may not be able to provide the fresh transplant with enough moisture to stay healthy and grow. It will take a few days for the roots to grow away from the starter plug and begin to extend into the new medium where they can absorb water and nutrients to supply the plant in an increasingly intensive growing environment.
The goal in pre-veg is to ramp your young plants up for more intensive vegetative conditions to follow. Over the next couple of weeks, gradually increase the light intensity the plants receive by moving the lamp closer, while also incrementally increasing air circulation with oscillating fans. If you create too much light intensity and air movement too soon, the plants will become stressed and prone to problems. Don’t forget that they just came out of the gentle and easy living environment that you created in the tray with the propagation dome.
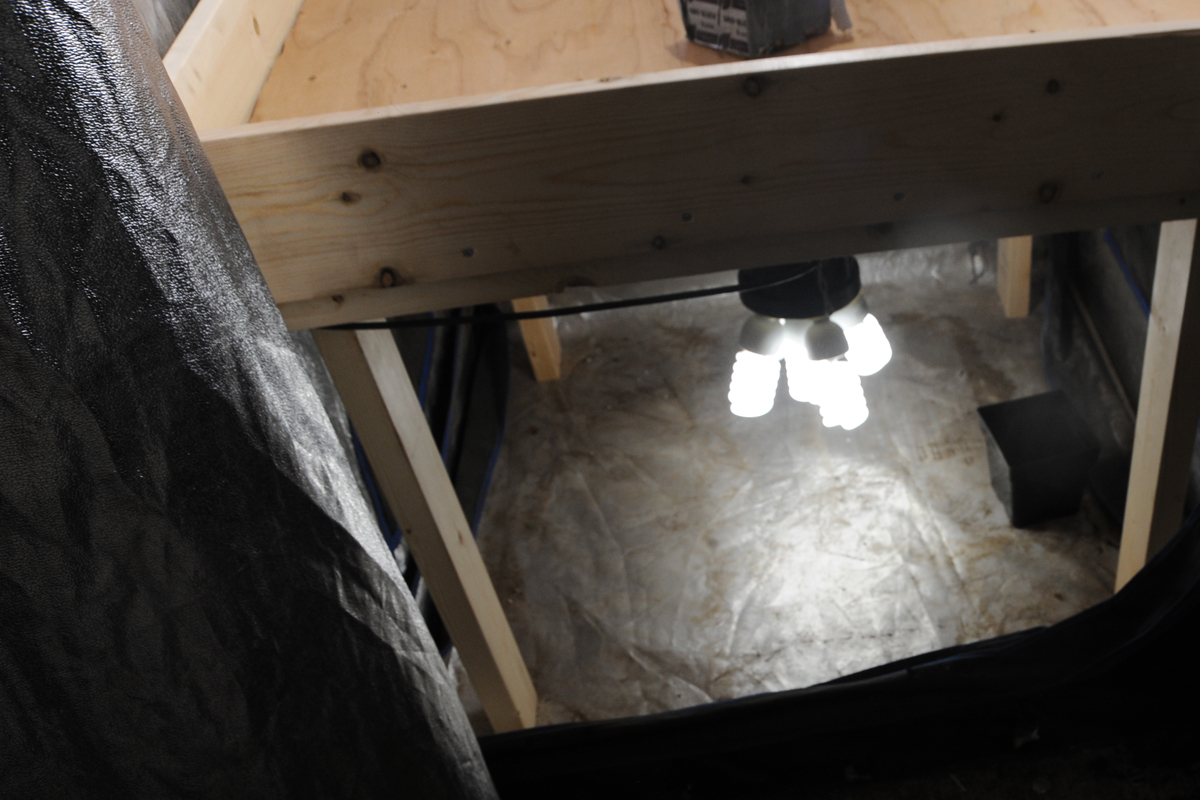
Below: This CO2 Pad helps boost co2 levels in your pre veg growing stage
[youtube width=”420″ height=”315″ video_id=”r05XdU9_qHA”]